Forcing Bulbs Indoors: Everything You Need to Know About Indoor Bulb Plants
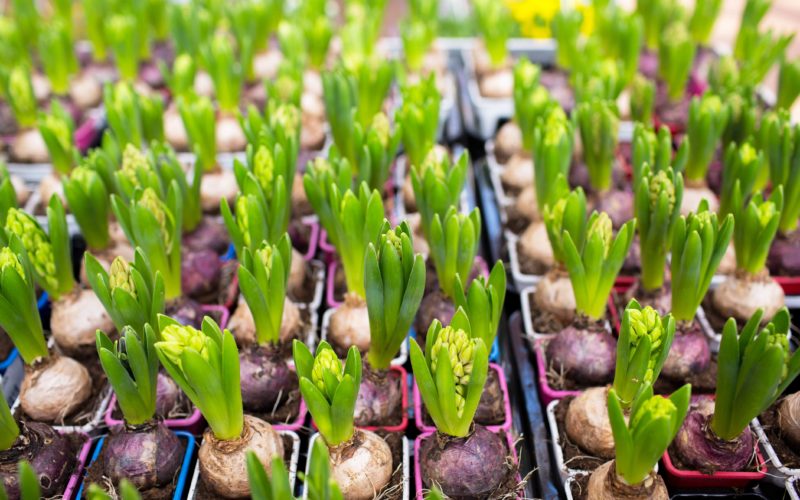
The spring season may be months away, but that doesn’t mean you need to put your gardening skills to rest. Learning how to plant bulbs can be a great way to add some life to your home during the colder months. Continue reading this blog to discover everything you need to know about choosing and preparing indoor bulb plants.
Choosing Indoor Bulb Plants
Before you begin planting indoor bulbs, you need to first understand the different bulb options you have to choose from. There are two main types of bulbs for indoor growing: chilled and non-chilled.
Non-tropical plants have natural cycles of blooming and dormancy which line up with their native environments. As a result, these bulbs need to be refrigerated or chilled for a certain amount of time to properly bloom and grow.
Below, we’ve listed the most popular indoor bulb plants that need chilling as well as the ones that don’t.
Bulbs That Need Chilling
The following are bulbs that will require a chilling period:
- Tulips
- Daffodils
- Hyacinth
- Crocus
Keep in mind that these bulbs may have different time ranges for their chilling period, which we will discuss later in this blog.
Bulbs That Don’t Need Chilling
The following are bulbs that don’t require a chilling period:
- Amaryllis
- Paperwhites
These bulbs follow the same planting guidelines, excluding the additional cold treatment requirements.
How to Plant Bulbs Indoors
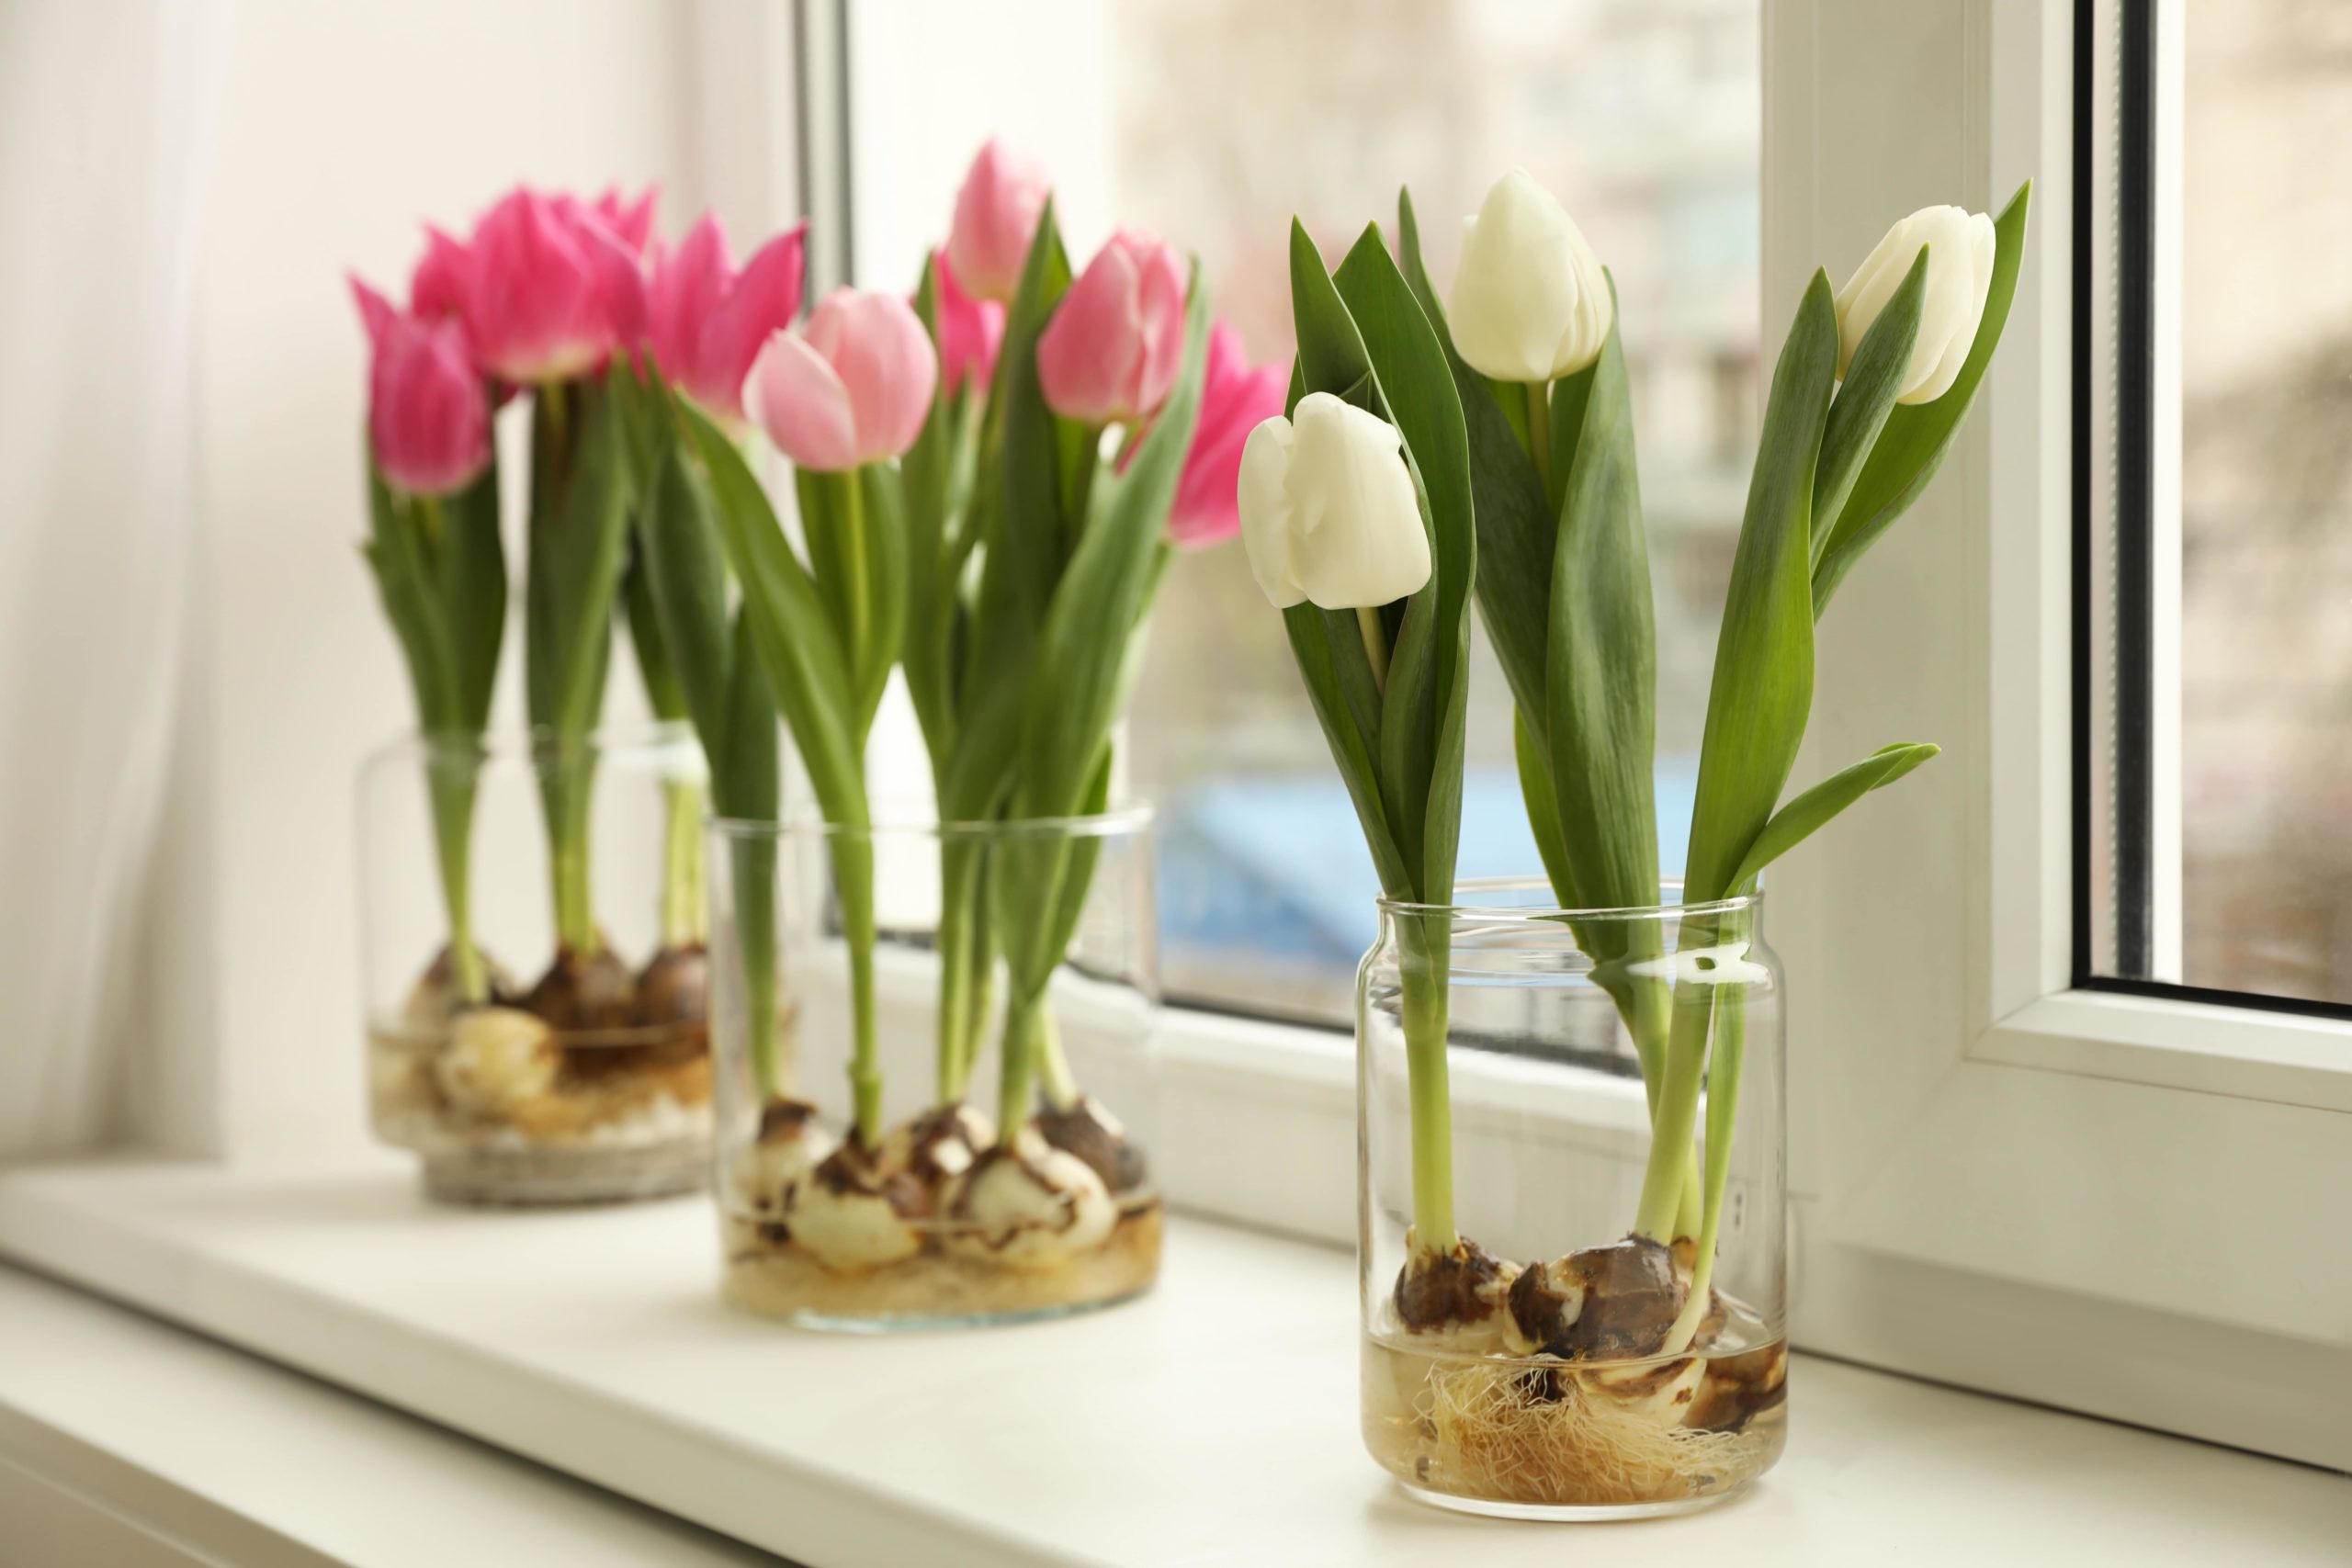
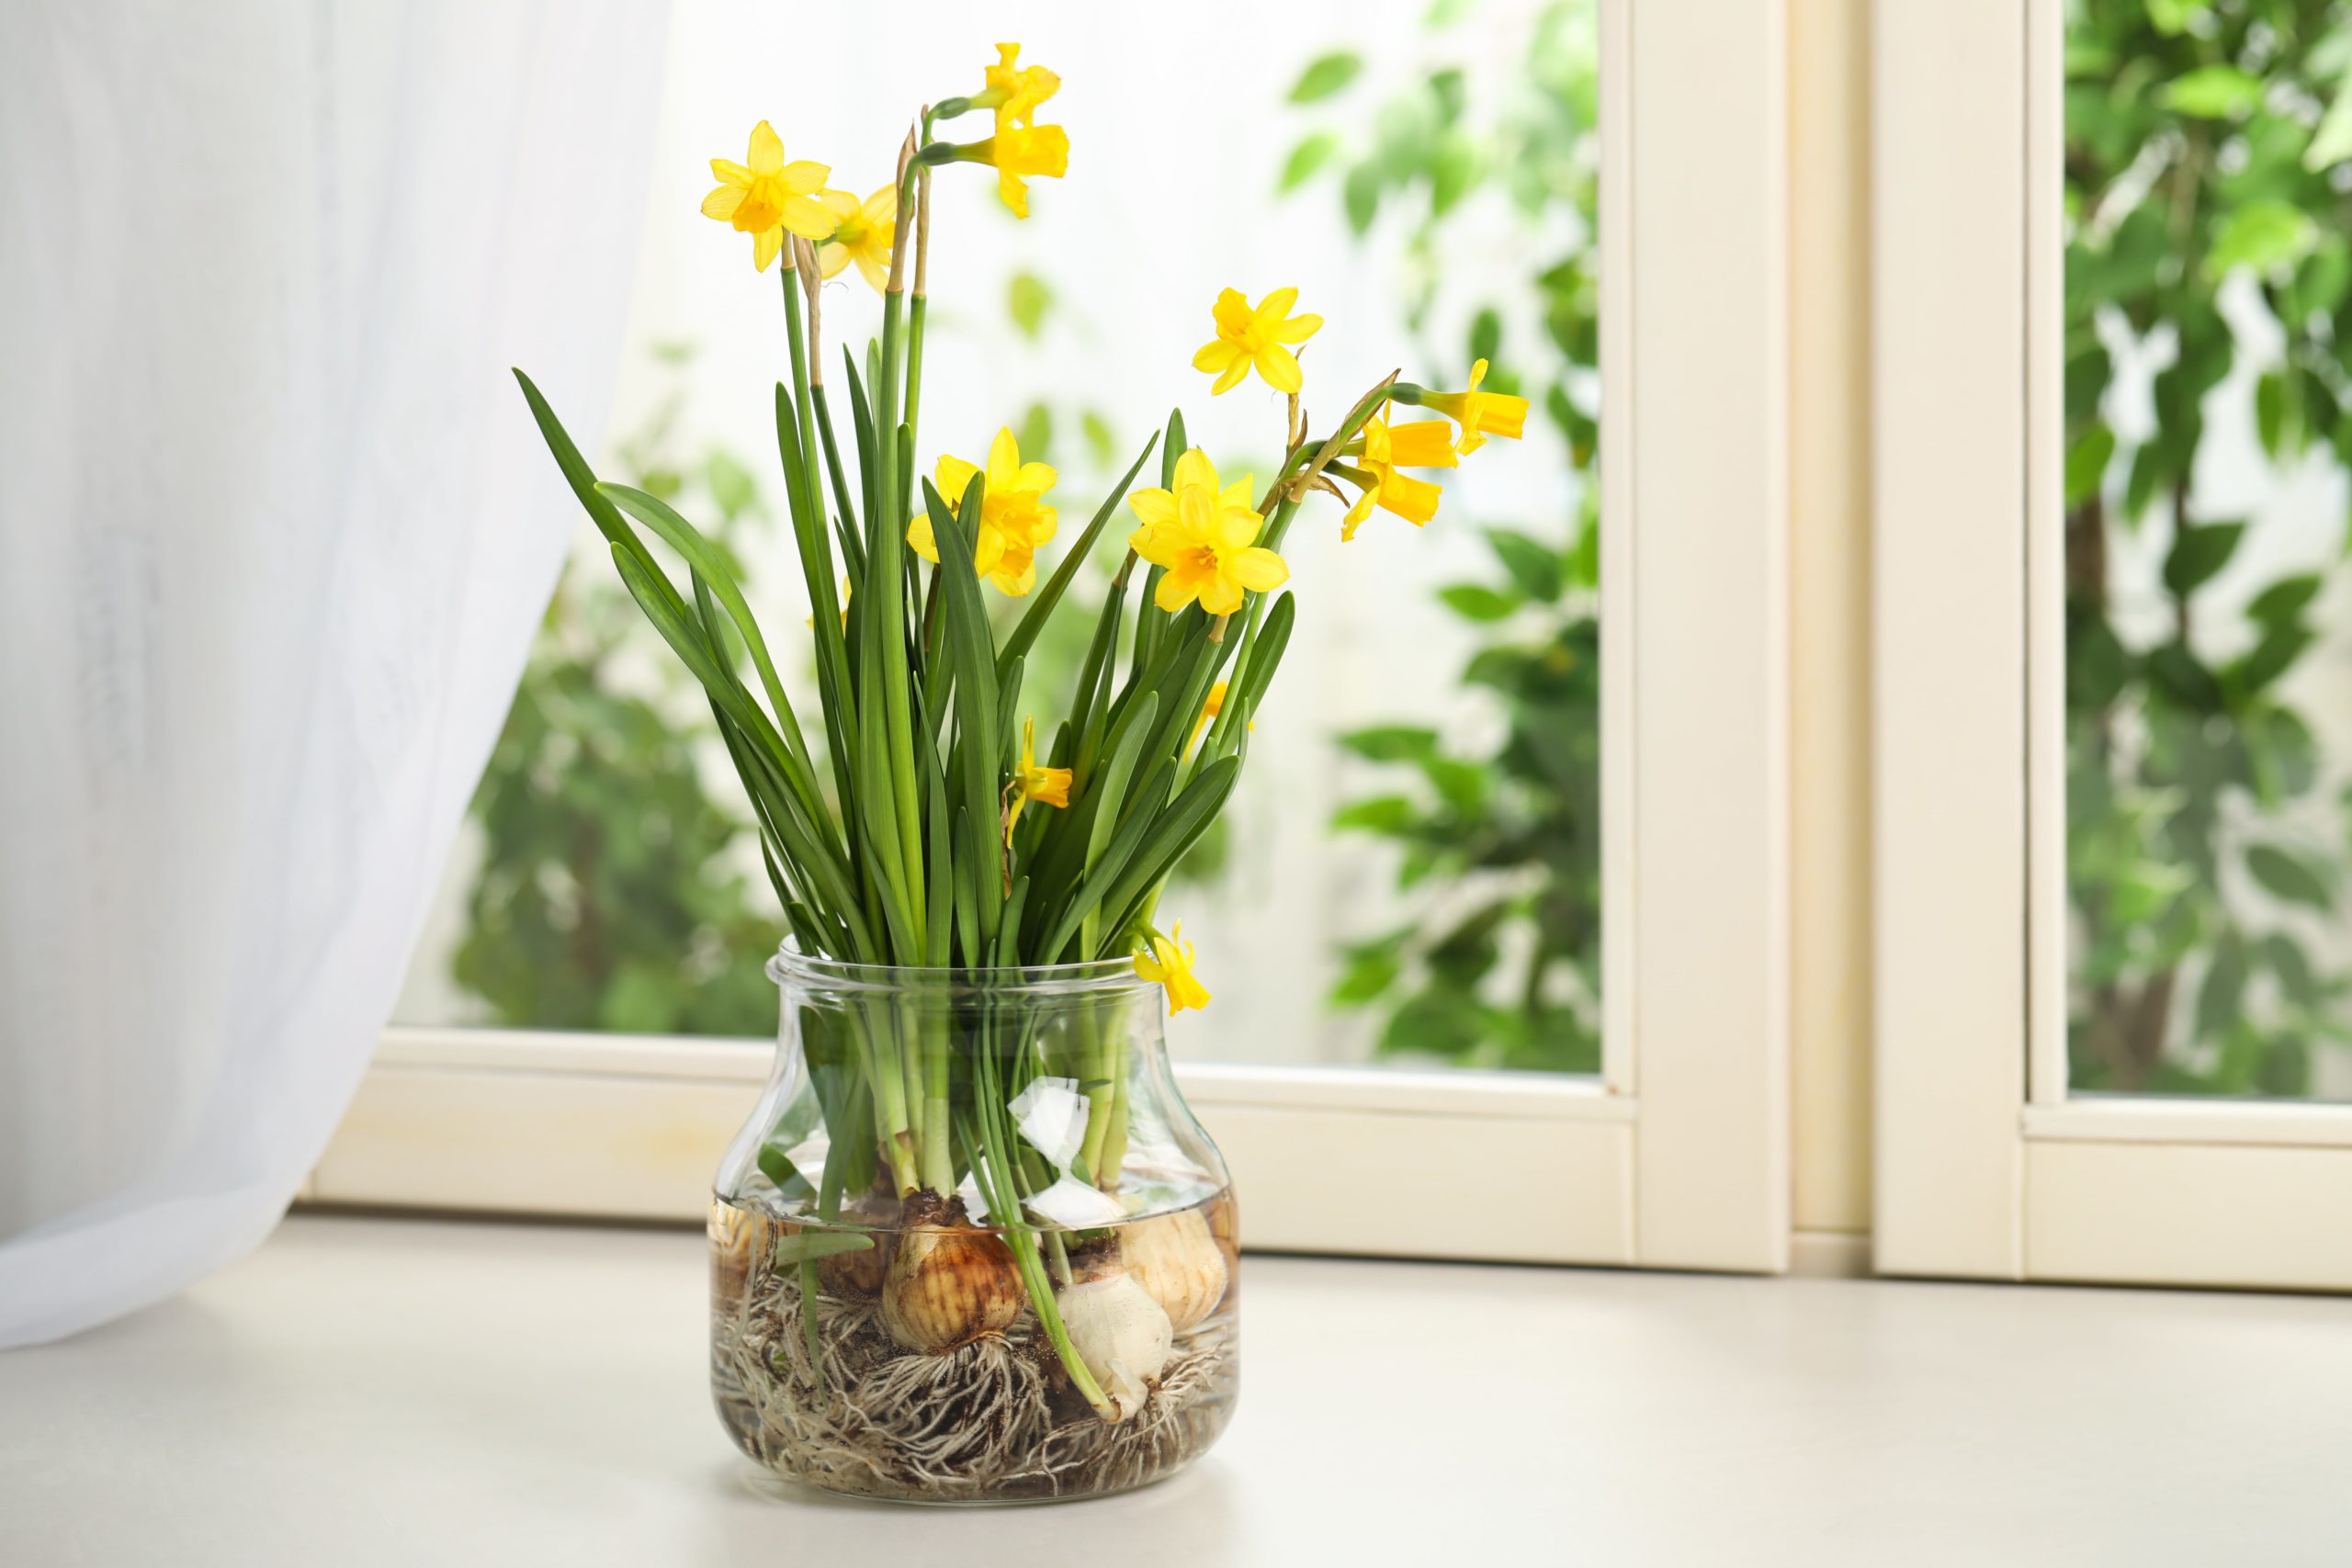
After you choose your bulbs, you can begin the planting process. There are two ways you can plant bulbs indoors. The first is to use ceramic or terracotta pots, and the second option is to use a glass jar or vase.
Planting your bulbs in a glass jar or vase allows you to watch as your bulb’s roots grow. However, you’ll need to re-pot it in a sturdier container as it begins to bloom to avoid it toppling over.
It should also be noted, that both of these indoor bulb planting options still require a cool rooting period. Below, we’ve listed the planting steps for both techniques.
When Planting in Ceramic or Terracotta Pots…
1. Choose your pot. You’ll want to make sure these pots are at least 6 inches deep and have 1-2 drainage holes in the bottom.
A quick tip: You can place a saucer underneath the pot to catch excess water throughout the growing process.
2. Add soil. Fill about ⅓ of the pot with potting soil before placing the bulbs on top. Remember, you don’t need to add any fertilizer to your soil. The bulbs have enough stored food which will aid them in flowering.
3. Place your bulbs. The bulbs should be standing with the hairy root end in the soil and the tips or noses pointing up. Be careful not to press the bulbs into the soil.
4. Check the spacing. The bulbs can be placed relatively close to each other (about ½ inch apart), but be sure they have enough room to grow and aren’t too crowded.
A quick tip: For reference, a 6-inch pot should be able to hold about six tulips, six daffodils, three hyacinths, or fifteen crocus.
5. Add more soil. After you place your bulbs, you can add some extra potting soil around the bulbs to ensure they remain standing upright. However, make sure you leave about ¼ inch of space at the top of the pot. This will allow you to properly water it without spilling.
6. Water the bulbs. Watering your bulbs immediately after planting is essential because when your soil becomes dried up, your bulbs will become dry as well.
A quick tip: Keep a close eye on your bulbs and the soil. Any time the soil surface becomes dry, you’ll want to water it immediately.
When Planting in Glass Jars or Vases…
1. Choose your container. You have some flexibility when using a glass jar or vase. Generally, you can use any glass container that will support the leaves and stems, and hold water (for multiple bulbs we recommend about 6 inches deep and 4 inches in diameter).
A quick tip: There are specific vases designed for growing bulbs in water. They are shaped like an hourglass which supports bulb growth.
2. Add pebbles. You’ll want to add a 2-3 inch layer of pebbles or about ⅔ up from the bottom.
A quick tip: We recommend using pebbles such as pea stones, marble chips, or river rocks, on the bottom.
3. Place your bulbs. Gently place the bulbs on top of the pebbles, following the same guidelines as above, make sure the hairy root end is on the bottom, while the tips are facing upward.
4. Check the spacing. In terms of spacing, you also can follow the guidelines listed above, keep the bulbs at least ½ apart. You can use pebbles as wedges between each bulb to ensure they’re properly spaced.
5. Add more pebbles. After the bulbs are placed, add another thin layer of pebbles, leaving the top ⅓ of the bulb exposed, this will keep them standing upright.
6. Add water. Fill the vase with water until it’s barely touching the bulb’s base. The trick to this is to add enough water to create a reservoir for the roots without submerging the base. If the bulb’s base is submerged or sitting in water, it will rot.
A quick tip: Throughout your bulb’s growing process, continue to check the water level. Make sure the water is always below the base of the bulb, but still touching the roots.
The Chilling Period & Forcing Bulbs Indoors
As we mentioned in the first section of this blog, most indoor bulbs need to go through a chilling period. This chilling period, also known as vernalization, is necessary for the bulbs to eventually flower.
Undergoing a cooling treatment stimulates a biochemical response inside the bulb. This response is what triggers the embryonic flower so that it can start developing. You can think of this cooling technique as similar to planting seeds and bulbs in the fall so they will bloom in the spring.
Once your bulbs are planted, you’ll want to put them in an environment between 35 to 48 degrees Fahrenheit. The length of the cooling treatment may differ depending on the type of bulb you’re working with.
Typically you’ll want to keep them cold anywhere between 16 to 18 weeks. This way of coaxing your bulbs into early bloom indoors is called “forcing”.
In order to do this properly, your bulbs must stay at a cold temperature for their required chilling time. Below, we’ve broken down the chilling time frames for the most common indoor bulb plants.
Forcing Tulips Indoors
The ideal chilling time for tulips is 14 to 20 weeks. After chilling, they should bloom in about 2 to 3 weeks. When forcing tulips indoors, we recommend the following varieties:
- Apricot Beauty (rose-apricot)
- Shirley (white with purple feathering)
- Attila (violet)
- Blue Eyes (purple with ivory edges)
- Salmon Pearl (carmine-rose)
- Negrita (purple)
- Yellow Emperor (yellow)
- White Dream (white)
- Red Emperor (red)
- White Emperor (white)
- Orange Emperor (orange)
- Pink Emperor (pink)
- White Dream (white)
Forcing Daffodils Indoors
We recommend choosing double-nosed daffodil bulbs since they are more likely to give you more blooms. Their chilling period should be 15 to 17 weeks, and they should bloom in about 2 to 3 weeks after. Some of the best daffodil varieties for forcing include:
- Barret Browning (white and orange)
- Bridal Gown (creamy yellow)
- Carlton (yellow)
- Flower Record (white and orange)
- Mount Hood (white)
- February Gold (yellow)
Forcing Hyacinth Indoors
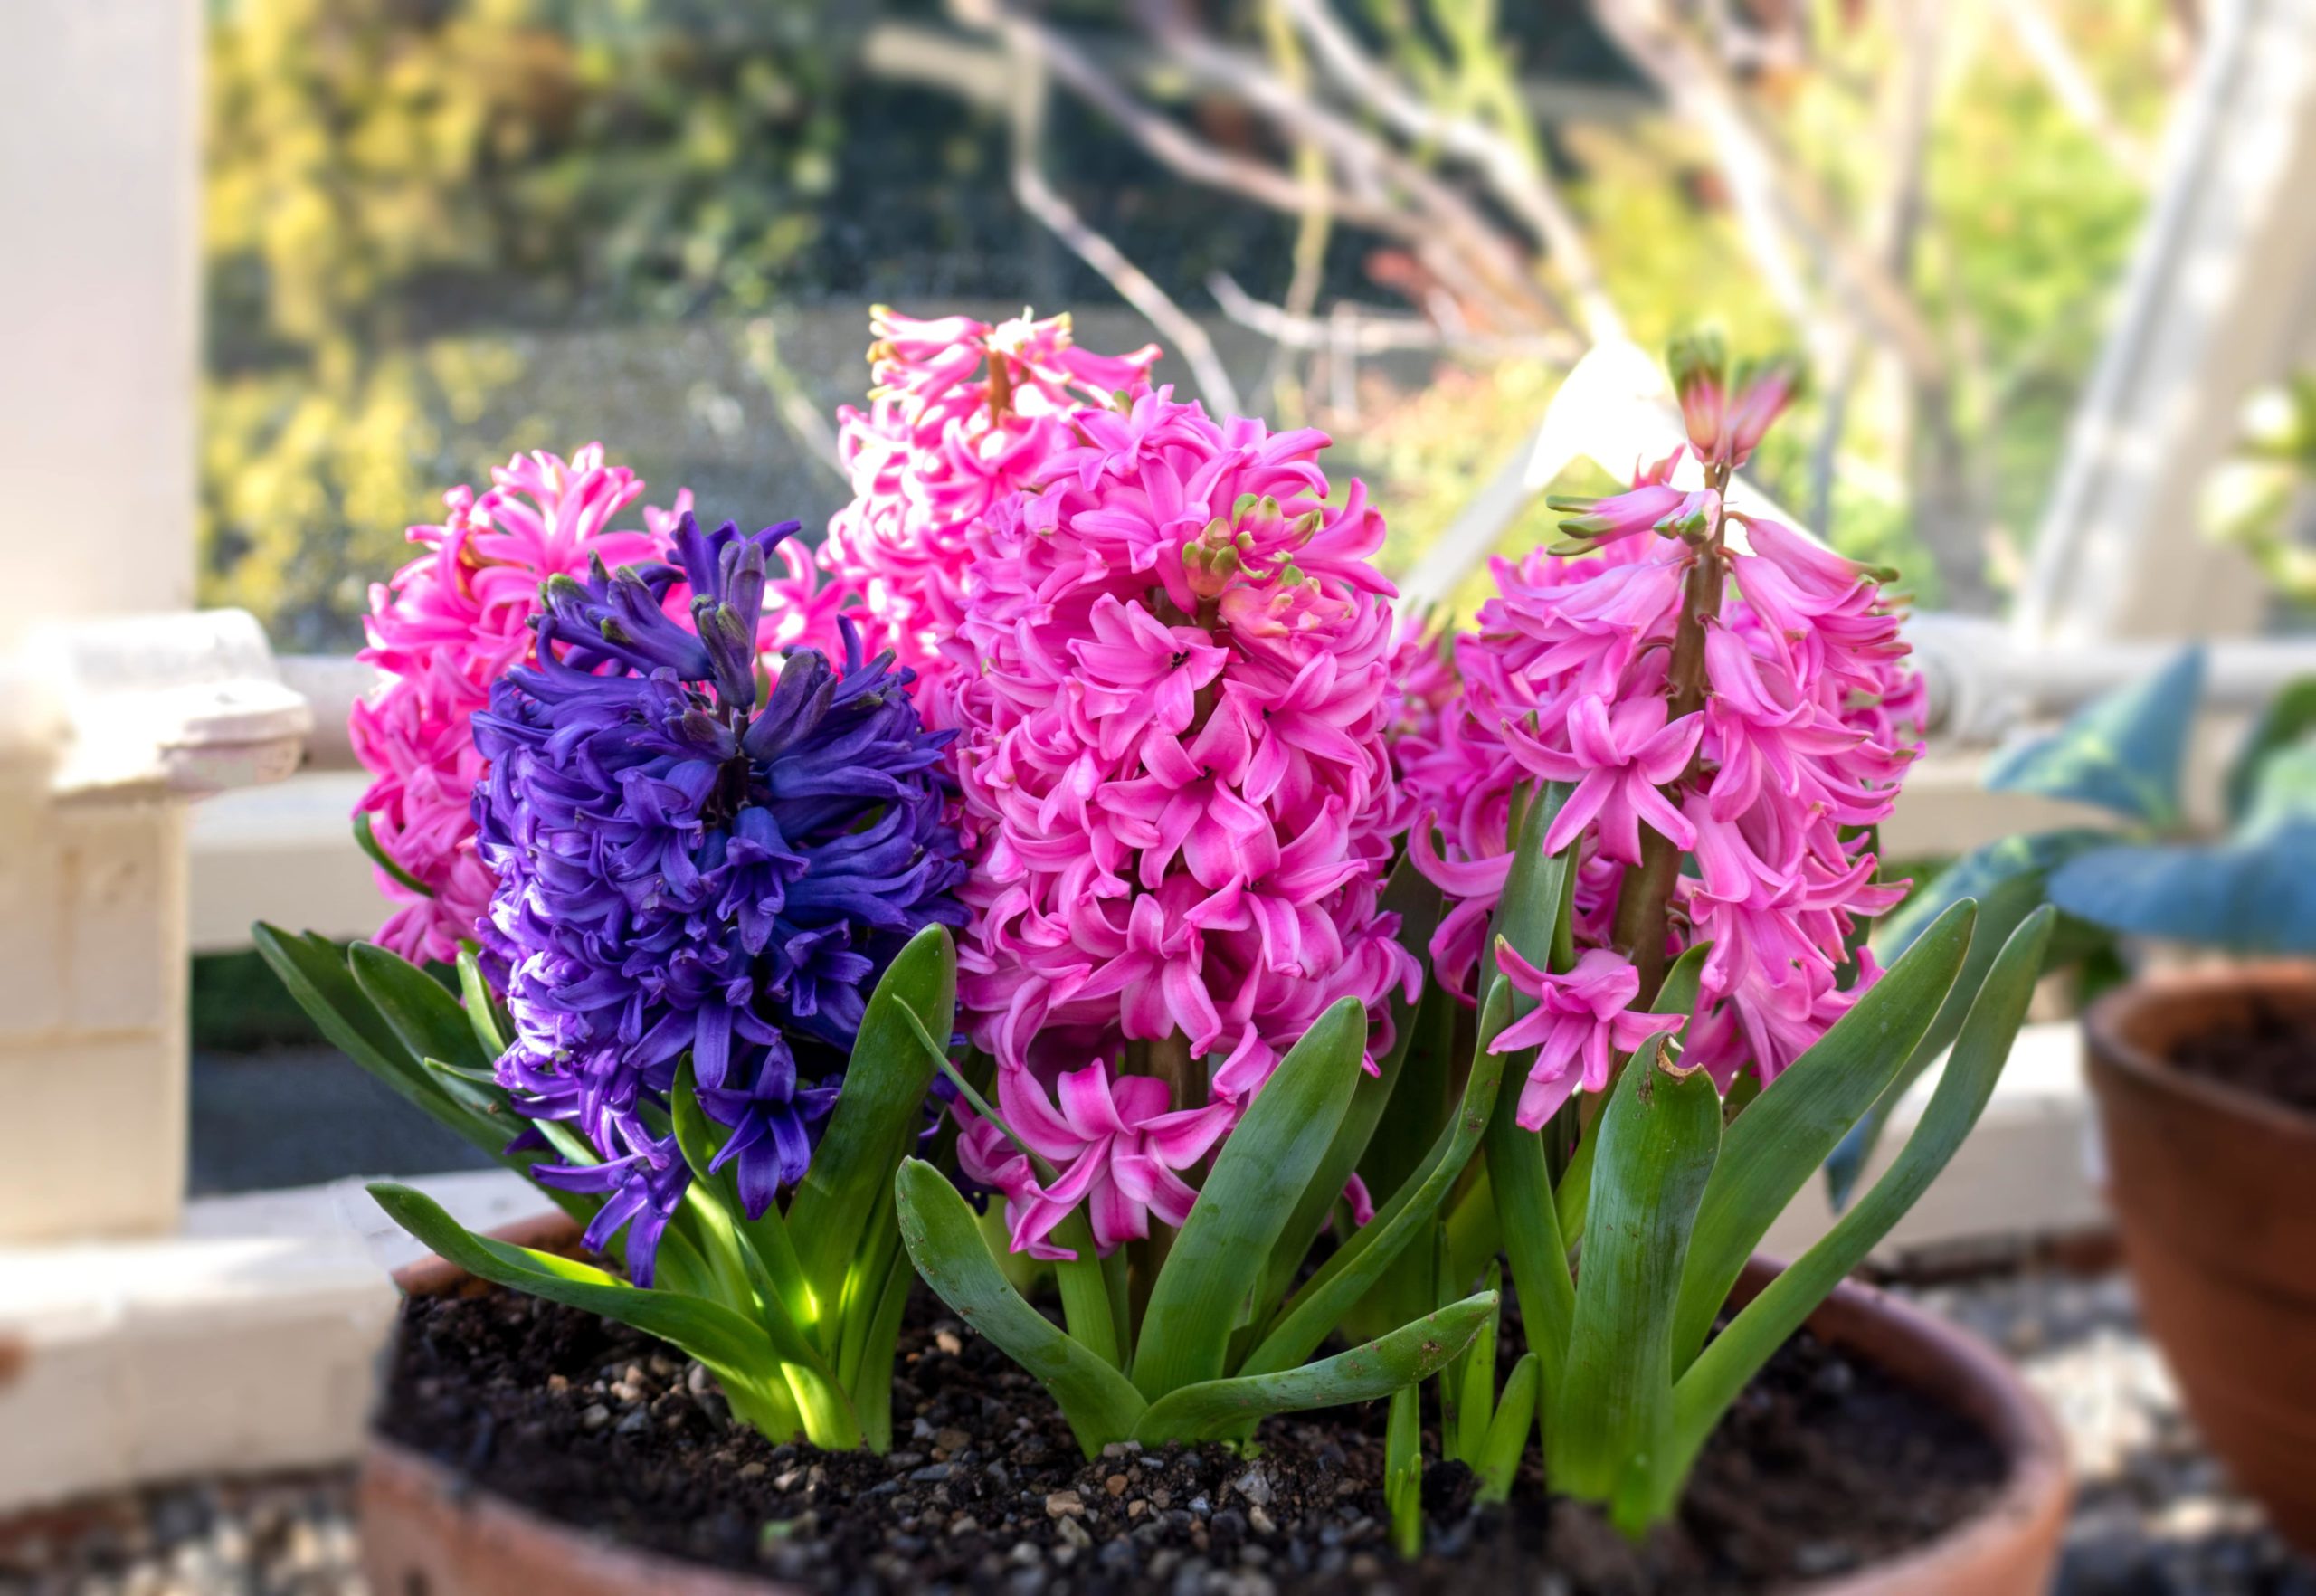
All varieties of hyacinth bulbs force well. When forcing hyacinth indoors, we recommend an 11 to 14-week chilling period. After this, they should bloom in about 2 weeks.
Forcing Crocus Indoors
For crocus, the ideal chilling time is 15 weeks, and after chilling, they should bloom in about 2 weeks. Since these are large-flowered varieties, the following are known for forcing well:
- Flower Record (purple)
- Peter Pan (white)
- Pickwick (striped)
- Yellow Mammoth (yellow)
- Remembrance (lavender)
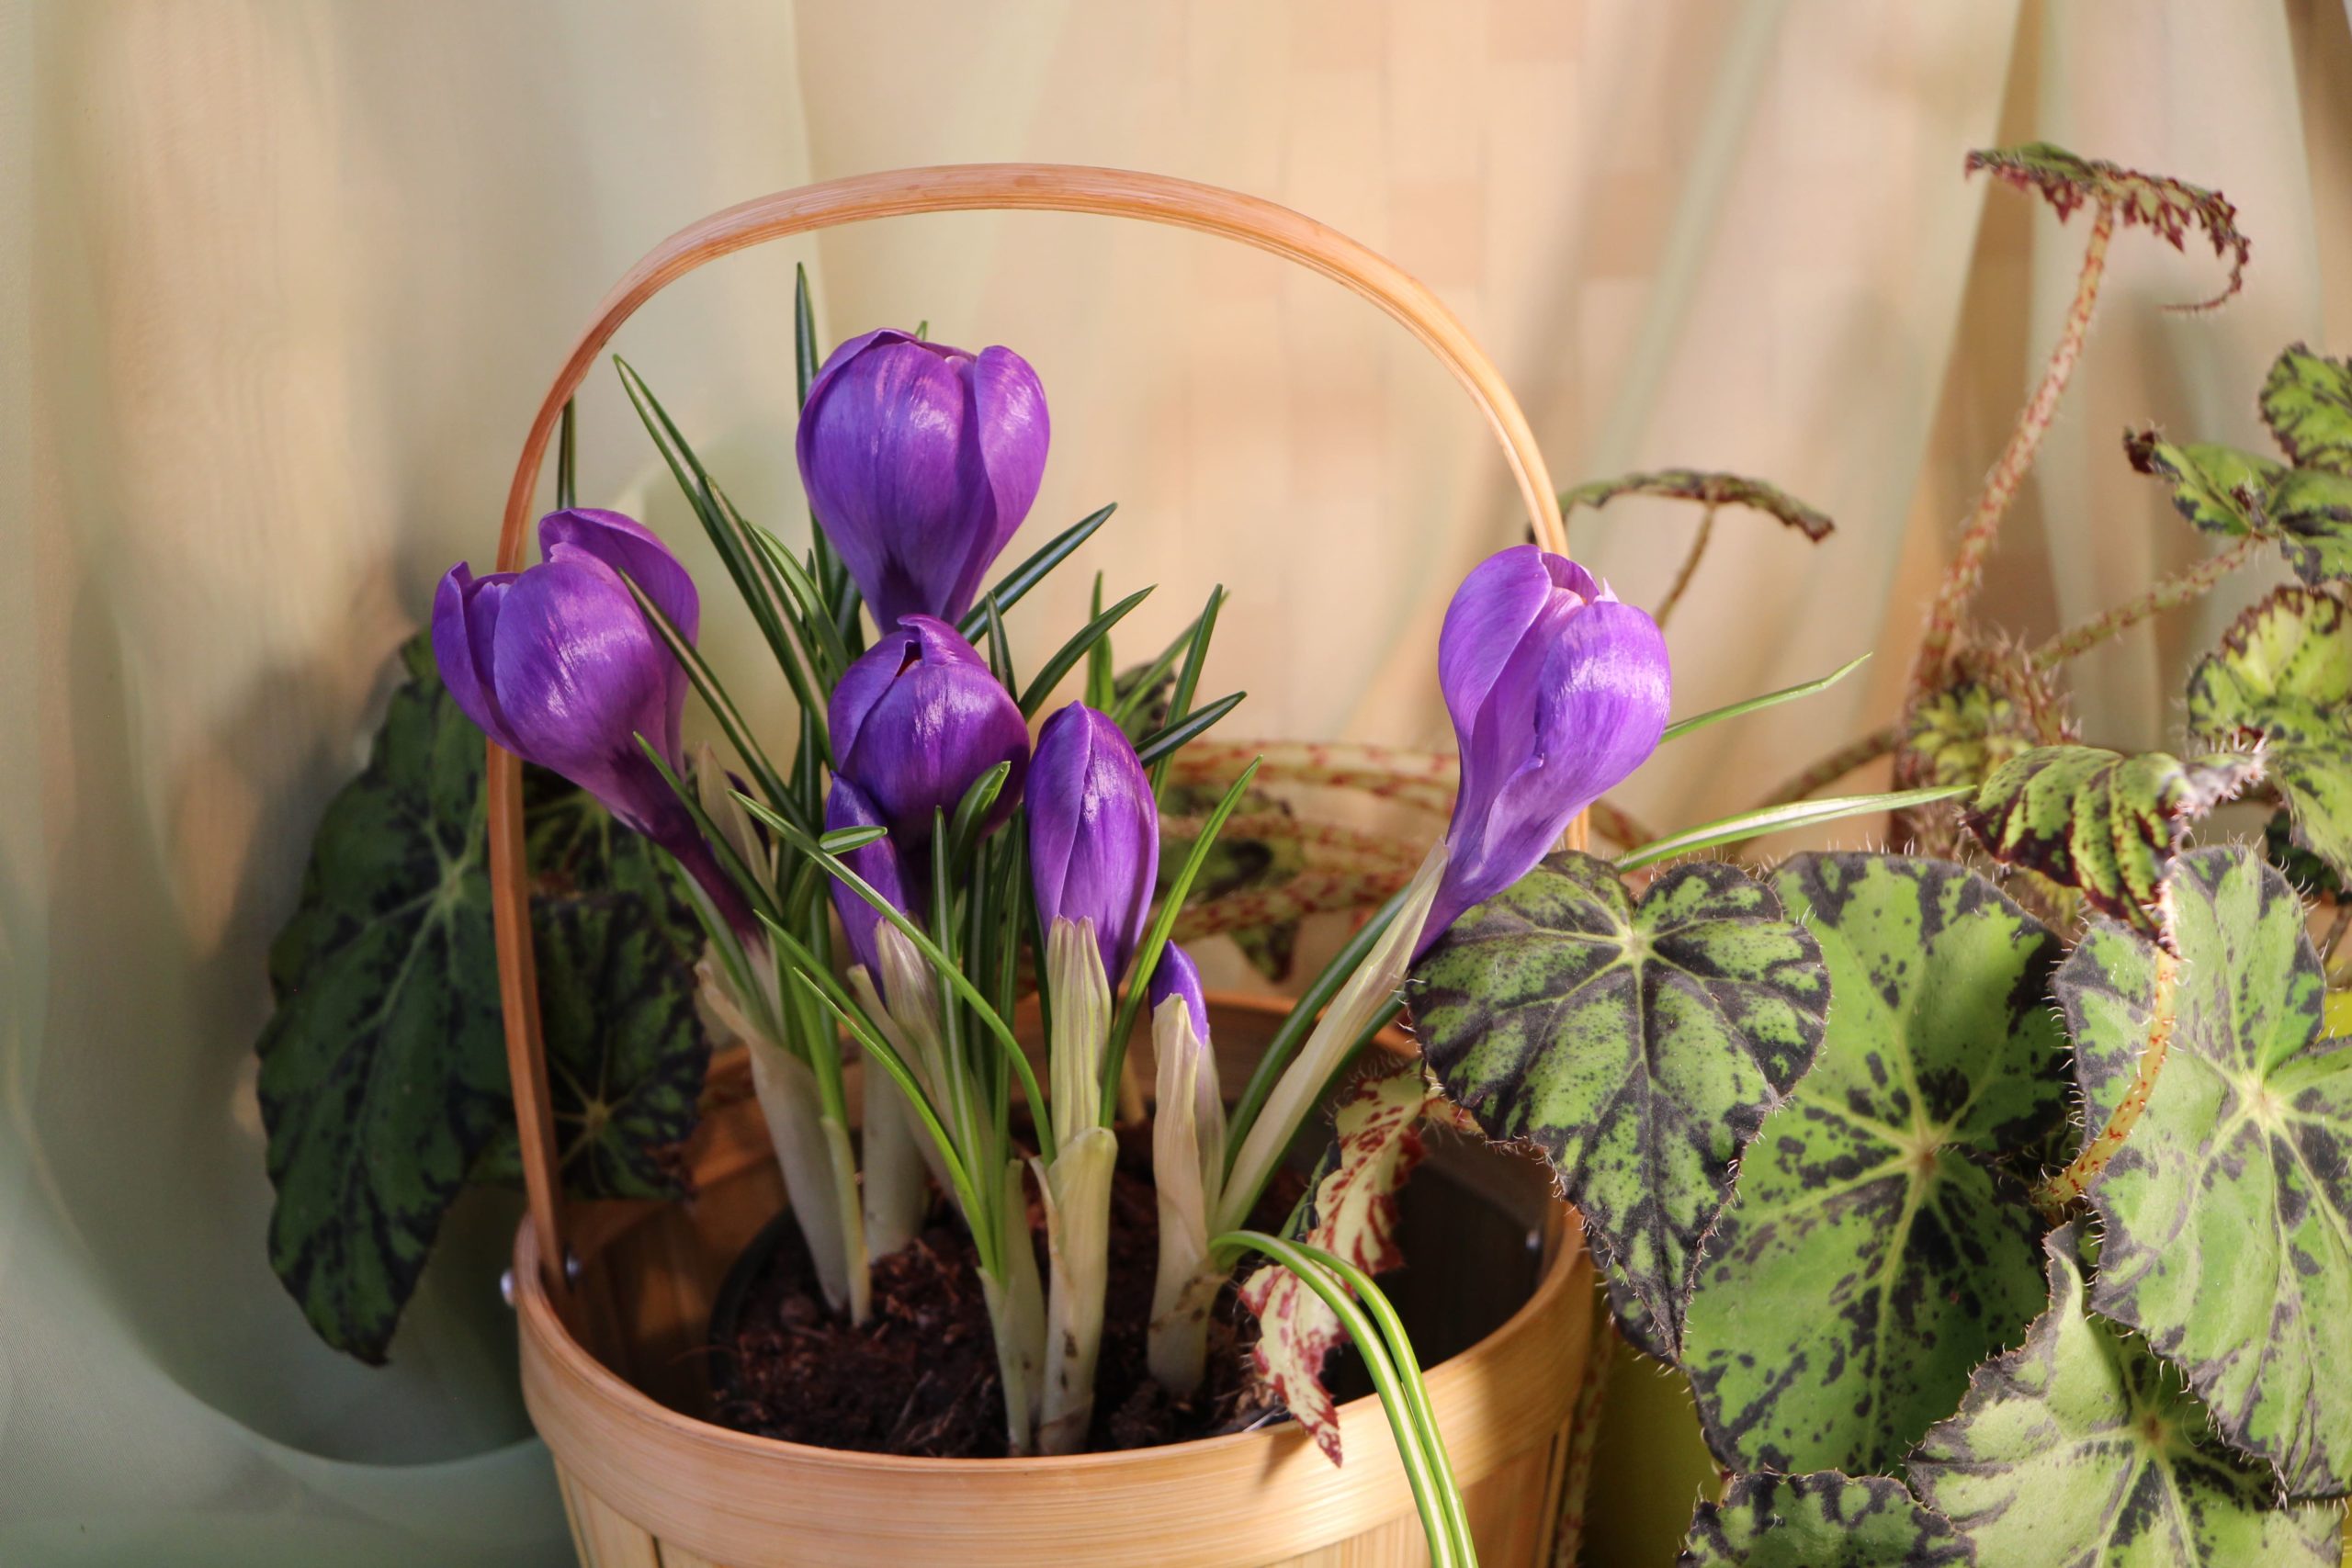
Planting bulbs don’t only allow you to get a headstart for the spring season, but it also gives you a fun project to focus on when you don’t have a garden to tend to outdoors.
Interested in learning more about indoor plants? Check out our extensive houseplant selection today!

