How To Lay Mulch: A Step-by-Step Guide

Mulching your landscape seems like a simple exercise — shovel, dump, spread, and repeat. But there is a bit more that needs to go into it if you want your time and sweat to result in a beautiful landscape and healthy plants. Our step-by-guide on how to lay mulch provides plenty of tips for spreading mulch in your flower beds and other areas of your yard.
Skip Ahead:
- Mulch Calculator
- When to Put Mulch Down
- How to Lay Mulch in 5 Steps
- How to Mulch Flower Beds & Vegetable Gardens
Mulch Calculator: How Much Should You Buy
Your first step will include calculating exactly how much mulch you need to purchase in order to complete the task. You don’t want to find yourself skimping halfway through the project as you watch your mulch supply dwindle. At the same time, you don’t want a mountain of mulch remaining when the job is done. So what’s the formula to determine how much mulch to buy?
To determine the total square footage of your beds, multiply the length and width of your space. The average step is 2.5 feet in length, so count the steps of the length and width of your yard. Then, use our formula:
- Number of steps x 2.5 = Total Length
- Number of steps x 2.5 = Total Width
- Total Width x Total Length = Square Footage
Once you know the total square footage, you’ll need to figure out how many bags or how many scoops of mulch you will need for your space.
- 2 cubic foot bags: Square Footage / 12 = Total bags needed for a 2” inch thick layer of mulch.
- 3 cubic foot bags: Square Footage / 18 = Total bags needed for a 2” inch thick layer of mulch.
- Bulk mulch: Square Footage / 128 = Total scoops needed for a 2” thick layer of mulch.
When To Lay Down Mulch
There are two times of year best suited for spreading mulch. Adding mulch in the spring is beneficial because seasonal rains help to break down the organic materials in mulch, which then penetrates the soil. It will also give your landscaping a fresh, clean look throughout the spring and summer. Laying down mulch in the fall also benefits your plants by providing an extra layer of insulation throughout the colder months.
No matter which season, you’ll want to plan your mulching session for a time when the ground has thawed and is still moist. Additionally, you might want to choose a day following a particularly rainy period. The mulch you apply will help to seal in the moisture.
How to Lay Mulch in 5 Steps

Ready to get your hands dirty? Now it’s time to get out there and start mulching. Here is how to lay mulch in five steps.
Tools you’ll need:
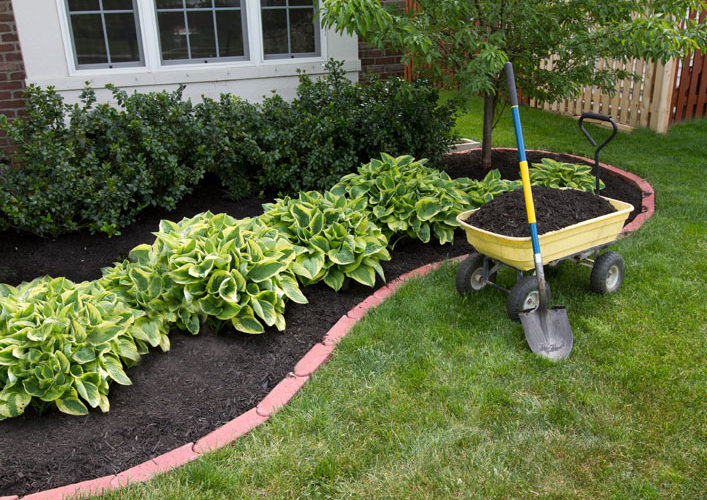
- Shovel or pitchfork — If you’ve had scoops of mulch delivered to your home, you’ll need a shovel or pitchfork to place your mulch into a wheelbarrow.
- Wheelbarrow — For easily transporting your mulch to different areas of your yard.
- Rake — A bow rake is considered the best rake for spreading mulch because the shorter tines are strong, rigid, and designed for breaking up material and spreading. But you can use a handy leaf rake to get the job done as well. Flip it over and use the back side for a smooth mulch job with no bumps or lumps.
- Gloves — Protect your hands when you’re spreading mulch around plants and in hard-to-reach places.
Follow these steps:
- Clean out your beds — Remove dried up leaves, debris, sticks, and old mulch from previous years. You should also take the time to freshen up the edging along your beds. Use a spade to cut a clean, defined line between your bed and lawn.
- Water your beds — If your area hasn’t experienced any recent rain, you should wet down dry beds. As mentioned above, the mulch helps to seal in the moisture. Before you water your beds, you may want to take the additional step of applying a pre-emergent herbicide (Preen is one of our favorites) to prevent weed seeds from germinating. Since it needs to be watered to activate, this is the perfect time to get it done!
- Remove weeds — A main benefit of mulching is that it suppresses weed growth, so cleaning out weeds gives you a head start.
- Spread mulch — Shovel mulch from your wheelbarrow or shake mulch from your bag into small piles. Then use your hands to spread the mulch, especially as you get close to the base of your plants. How deep should your mulch be? You should spread your mulch to be two to four inches thick. If your mulch is too thin, then weeds can push through. If your mulch is too thick, it prevents water from reaching the soil.
- Water after mulching — This is an optional step, but a final watering can help settle the mulch into place.
How to Mulch Flower Beds & Vegetable Gardens
Mulching large areas is an easy task, but there are additional tips for spreading mulch that you should follow when working in the tighter spaces of flower beds and vegetable gardens.
Wait to lay down your mulch until most of your plants have started growing. This way you can be sure you’re not burying any of your beautiful plants.
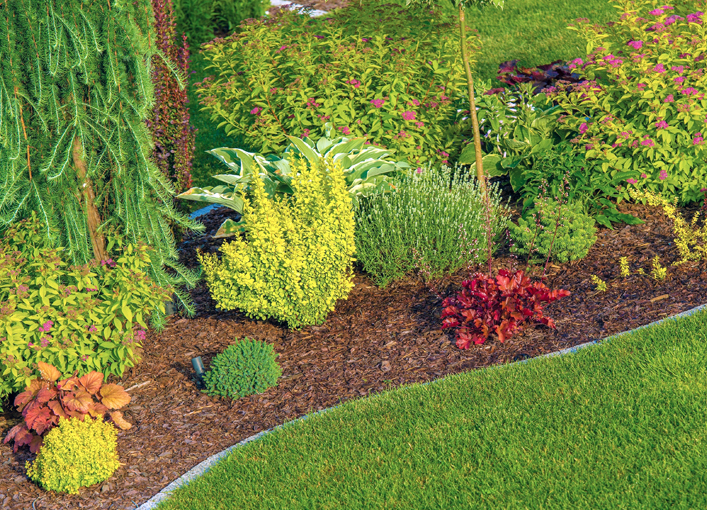
When spreading your mulch, it’s very important to keep the mulch three inches away from the base of your plants and the trunks of trees (no mulch volcanos!) Keeping distance between plants and mulch helps to avoid plant rot and other diseases, prevents nesting grounds for insects, and promotes air circulation.
When it comes to vegetable gardens, you need to mulch a little differently than you do in your flower beds. In your vegetable garden, you’ll need to turn the soil each and every year, so heavier mulches — those created from wood bark — may be harder to work with. In your vegetable garden, consider using lighter organic material like grass clippings, leaf litter, or straw.
Unlike mulching your flower bed, in your vegetable garden you do want to add mulch around the base of your plants. This is important for moisture retention. You should also mulch between plant rows to keep weeds away (but, it is not recommended that you add herbicide around your veggies!)
Mulch your landscaping this spring and you’ll see healthier soil, fewer weeds, and better water retention all growing season.
Are you ready to place your bulk mulch order for the spring? Contact your local Stauffers Home & Garden Centers to place an order and schedule delivery in the Central Pennsylvania area.
