How to Make a Cheese Board in 5 Easy Steps
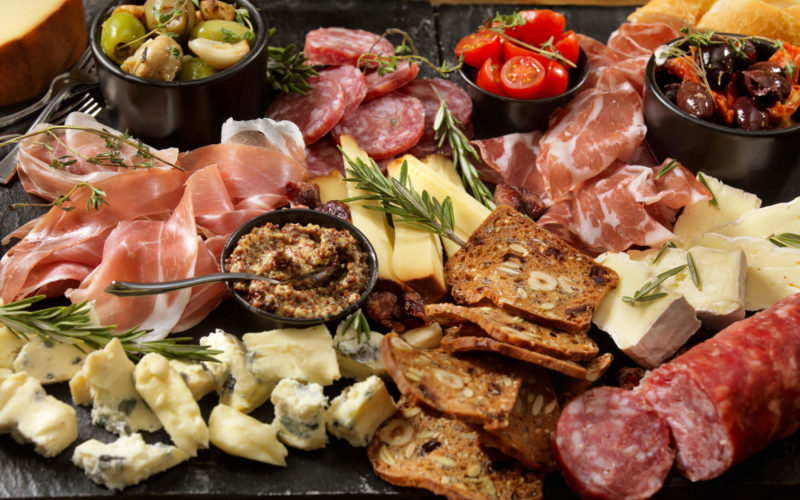
A well-made cheese board can be a show-stopping centerpiece for a romantic night in or a larger gathering. However, assembling one for the first time can be daunting. There are so many options to choose from, and you may not recognize (or even know how to pronounce) many of them. But with the help of our guide and our friendly team members at the Cheese Island, you can learn how to make a cheese board in just five easy steps!
1. Assemble the Basic Tools
Before you start running wild with your cheese board ideas, you’ll need a sturdy board to build on. Wood, marble, and slate are all trendy options, but any flat board will do. If you don’t want to buy a dedicated cheese board, a cutting board or sheet pan will do the trick.
You may also want to invest in a set of cheese knives so that everyone can cut their own slices without mixing flavors. If you’re looking to save a few bucks, you can slice everything up ahead of time (washing your knife between cheeses) and use tongs, toothpicks, or mini forks instead.
2. Choose the Best Cheeses for Your Cheese Board
The key to learning how to make a cheese board is variety. Choosing a broad array of flavors and textures will make for an exciting and delicious spread. If you’re unsure where to start when it comes to picking out the best cheeses for a cheese board, start with one of each from the five main families:
- Soft
- Semi-soft
- Semi-hard
- Hard
- Blue
Learning a little about each family will help you come up with new cheese board ideas (and will help you guide others when they’re choosing what to try first). Here are some safe bets and adventurous picks for each type of cheese.
Soft Cheeses
Soft cheeses are known for their creamy texture and tangy taste. They come from all over the world and may be made from cow, goat, or sheep’s milk. Start with a basic soft cheese like creamy brie or buttery Camembert. Or, get a little more adventurous with Humboldt fog or a flavored chevre.
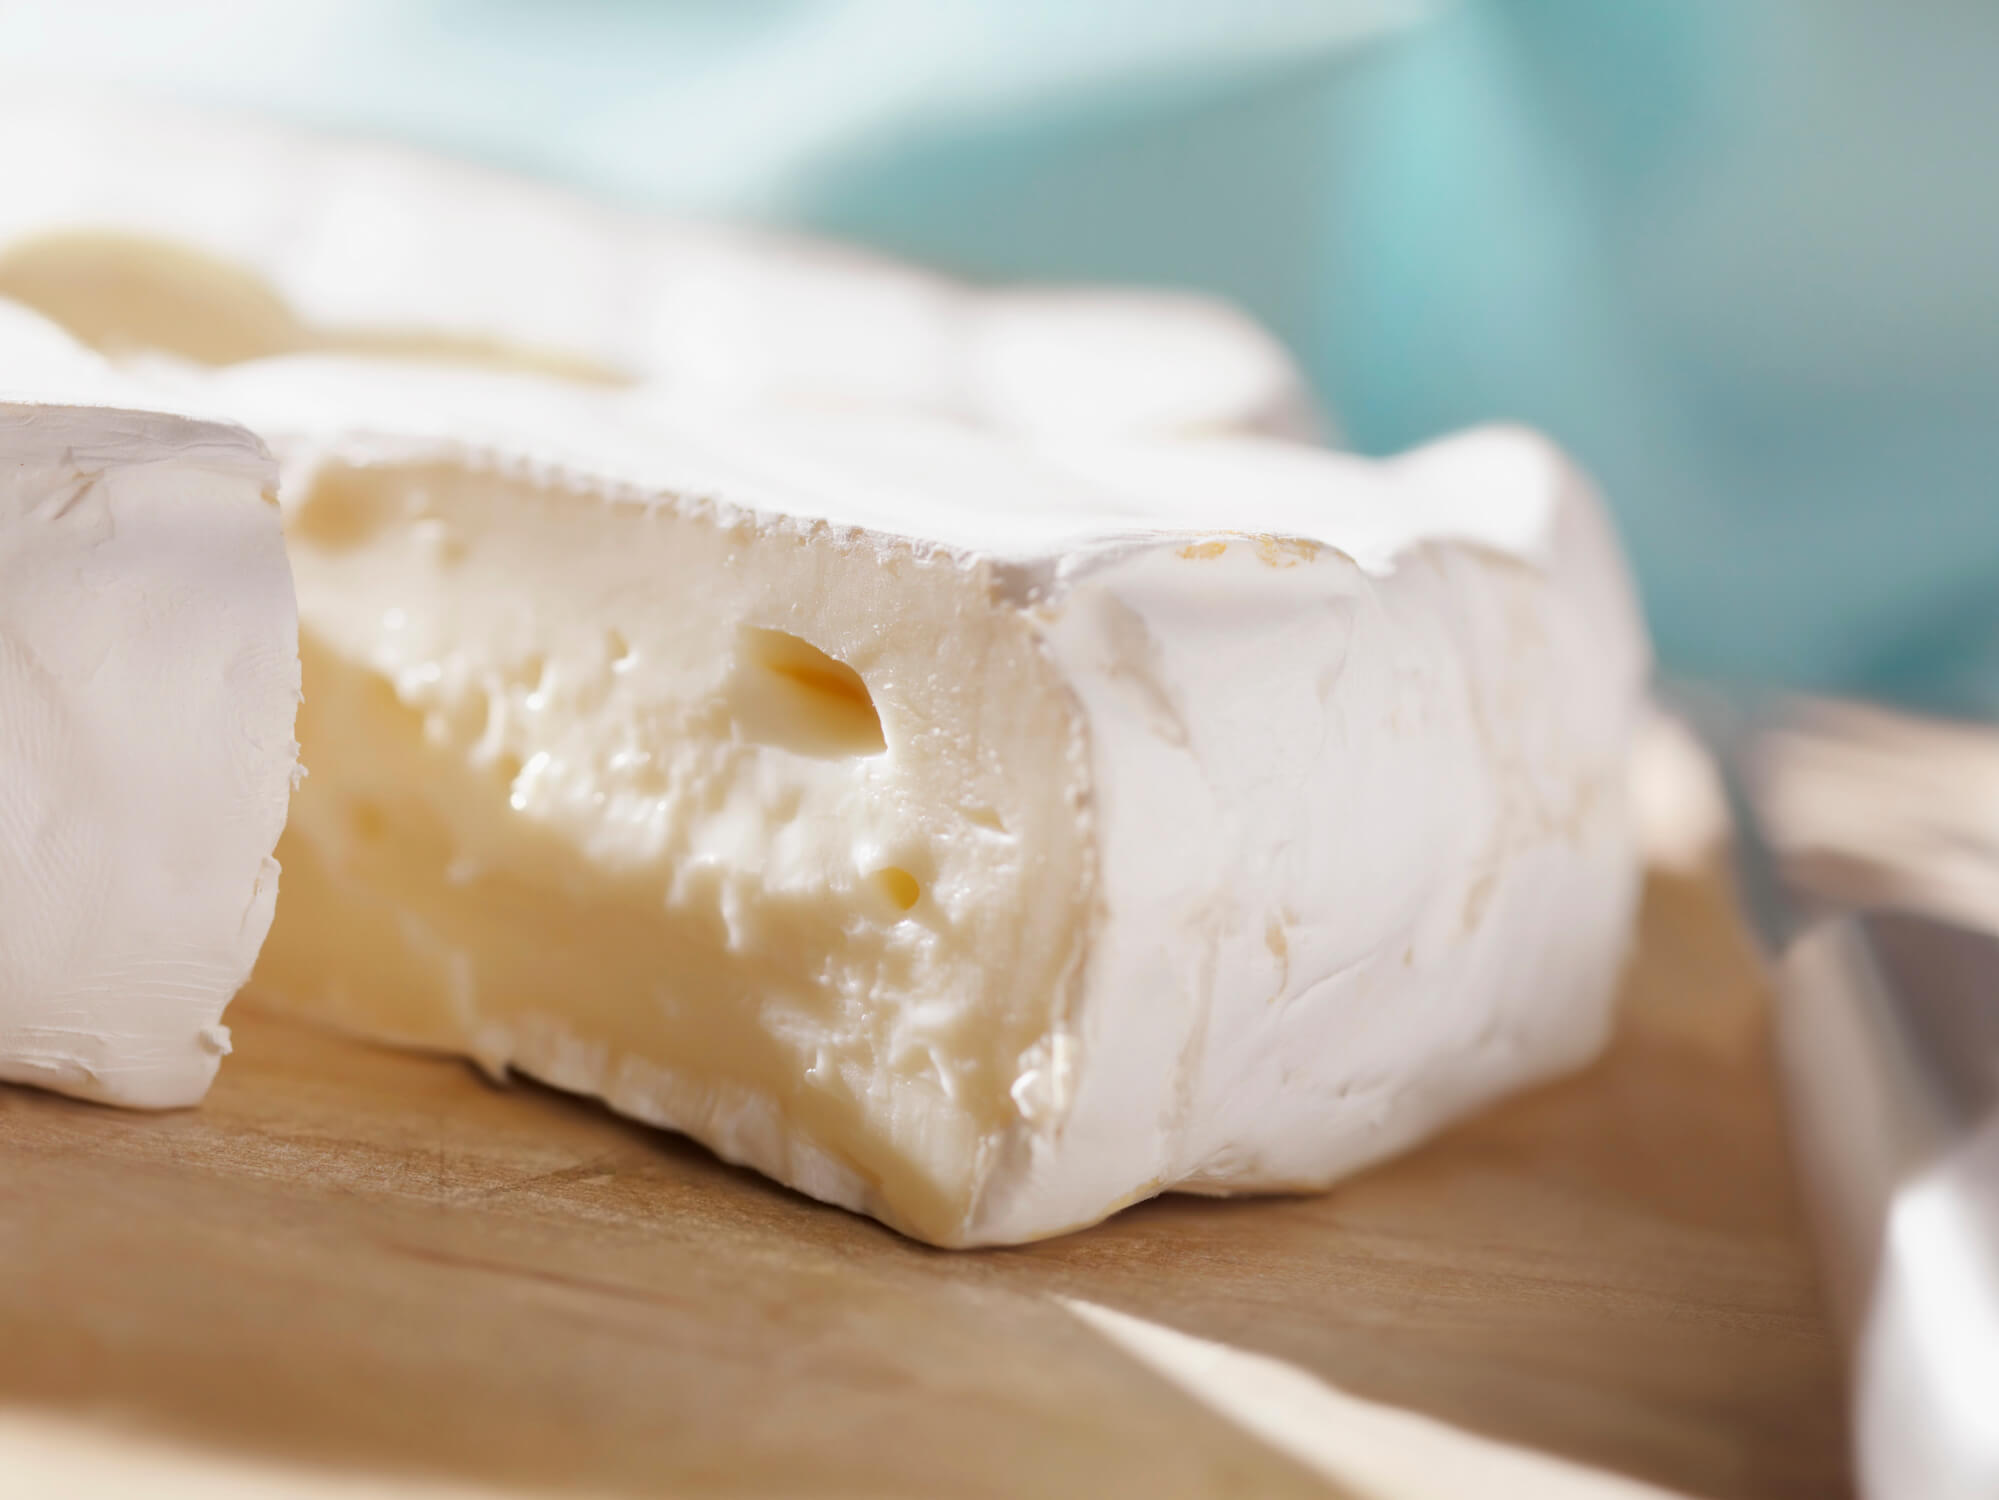
Quick Tip: Soft cheeses don’t have a rind to protect them like harder cheeses do. For maximum freshness, wrap them in wax paper (not plastic wrap), and store them in a humid drawer in your refrigerator.
Semi-Soft Cheeses
Semi-soft cheeses are not nearly as spreadable, but they’re still pliable and easy to slice. There are hundreds of cheeses that fall into this broad category, and the milk used to make them may come from cows, goats, sheep, or even buffalo!
Smoky provolone and creamy muenster are common choices that most people will enjoy. For fans of potent cheese, this is the time to let your Limberger shine!
Quick Tip: Semi-soft cheeses are especially affected by temperature. Be sure to take your cheeses out of the fridge about an hour before serving, so that they have time to reach room temperature and present their full flavor!
Semi-Hard Cheeses
These dense cheeses are drier than their soft counterparts, but are packed with flavor. They are aged anywhere between one and six months, and range in flavor from slightly savory to super tangy.
Classic choices include sharp cheddar and nutty gouda. Gruyere and Havarti are other mild options with slightly more complex flavor profiles.
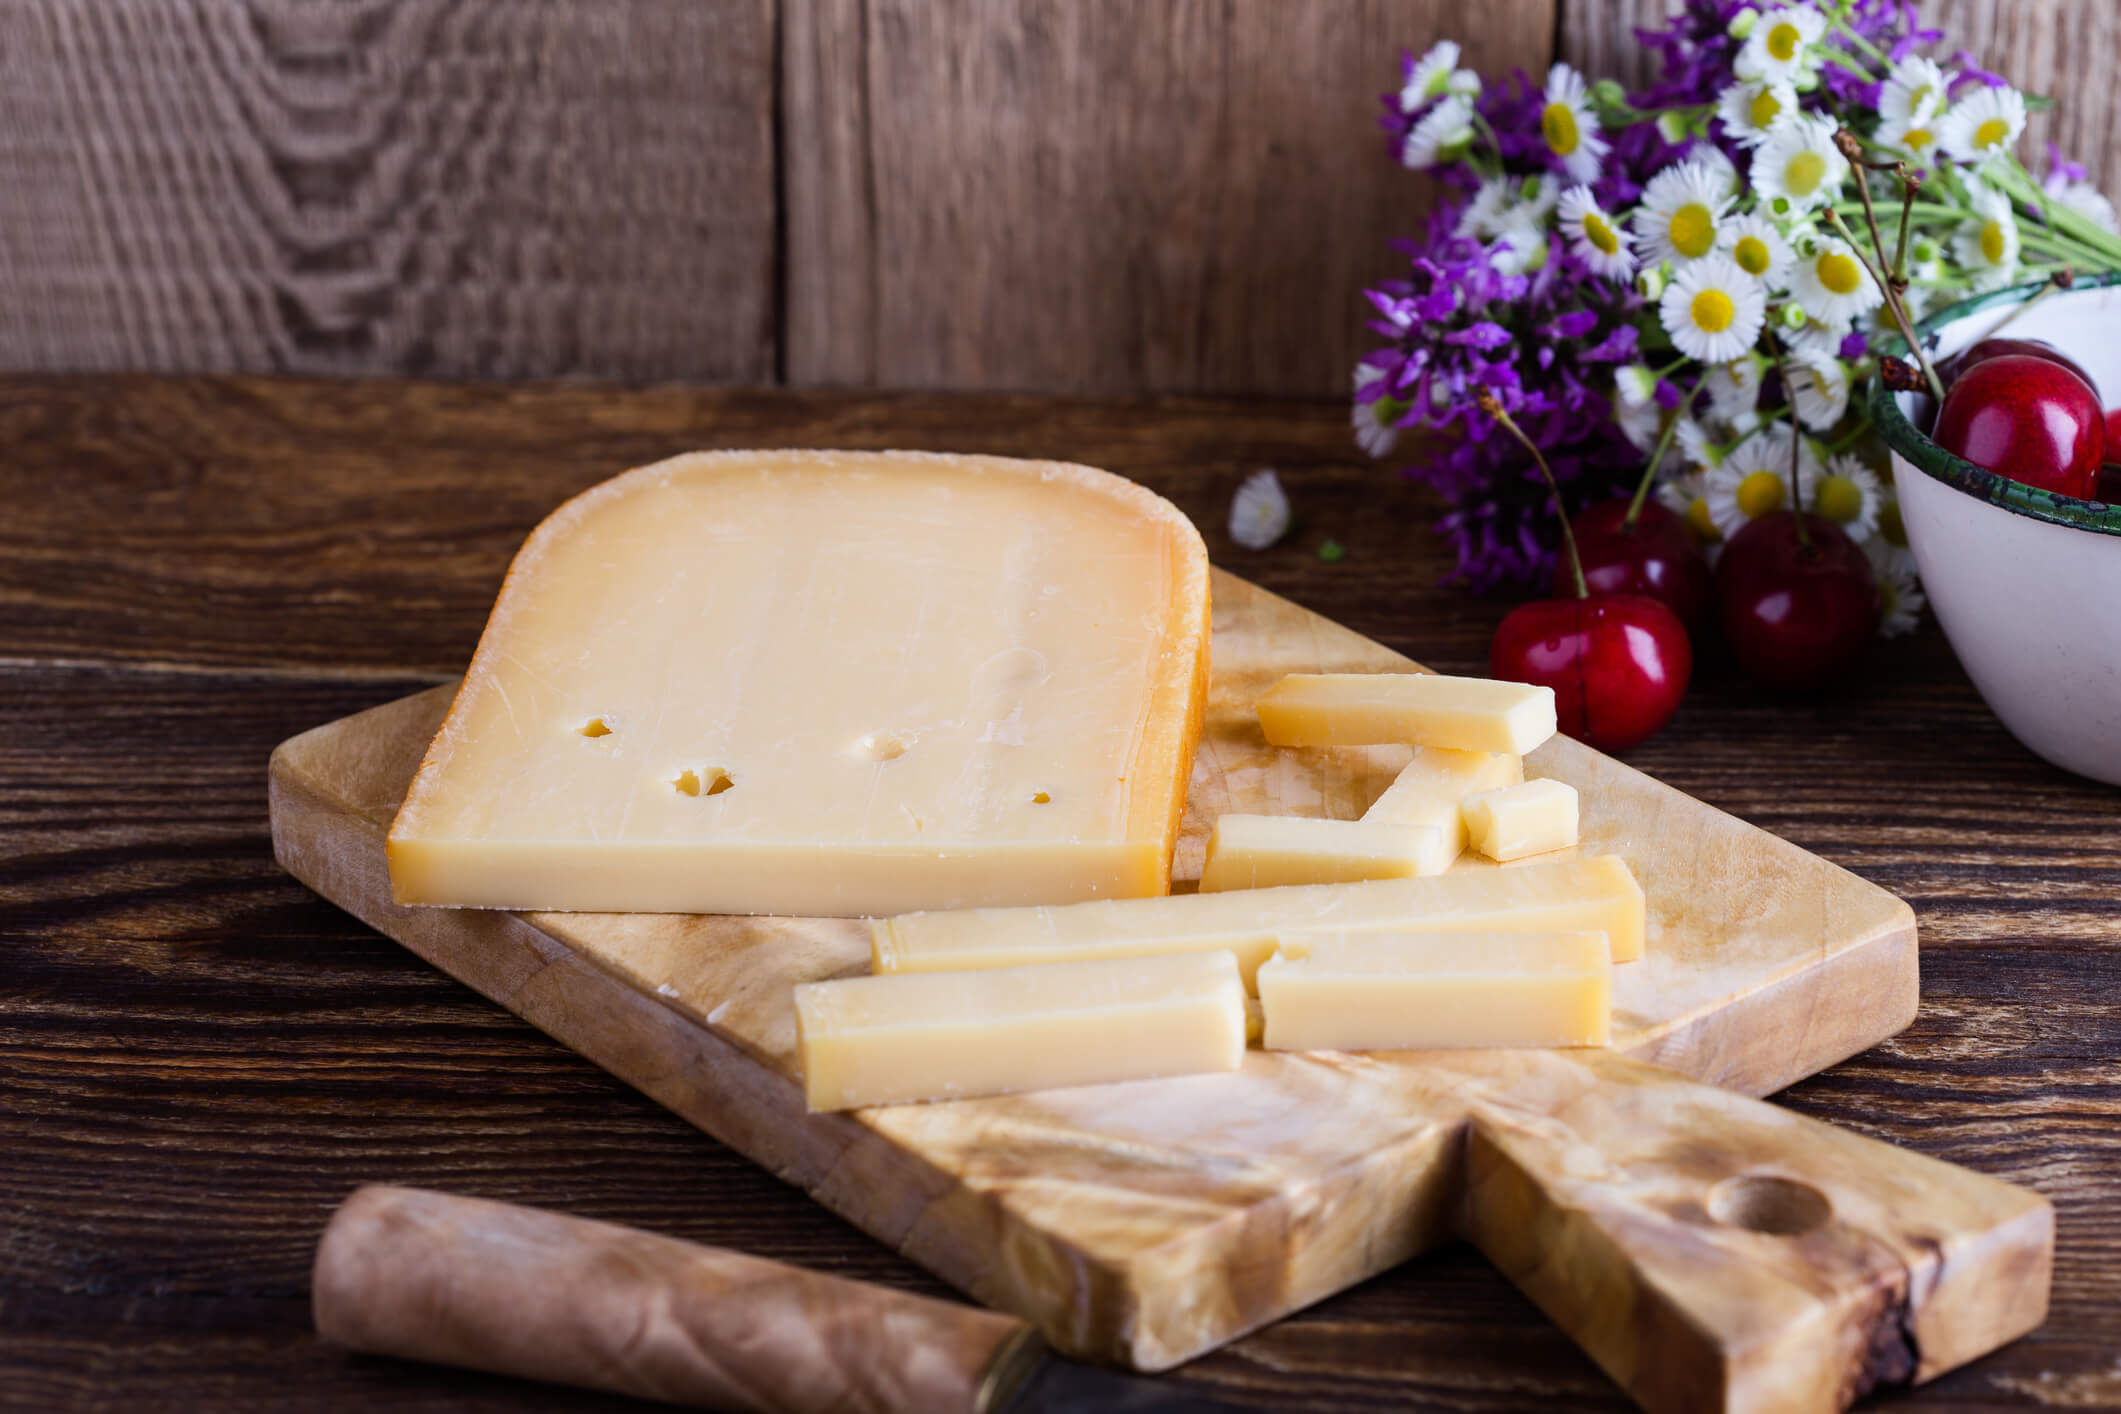
Quick Tip: Many people cut the waxy rind off of semi-hard cheeses. Whether it’s natural or a wax rind added by the producer, it is totally safe to eat!
Hard Cheeses
Hard cheeses are the firmest, and may be aged for up to three years! The longer aging process makes for a flakier, grainier consistency. Parmigiano-Reggiano is an easy choice, but don’t be afraid to try rich manchego or spicy pecorino for a more exciting option.
Blue Cheeses
Blue cheese is a love-it-or-hate-it option. Its pungent scent, intense flavor, and bright coloring make blue cheese one of the less approachable families. Cambozola and Roquefort are great beginner’s options. However, if you’re a tried-and-true blue cheese lover, check out creamy gorgonzola or flaky stilton blue.
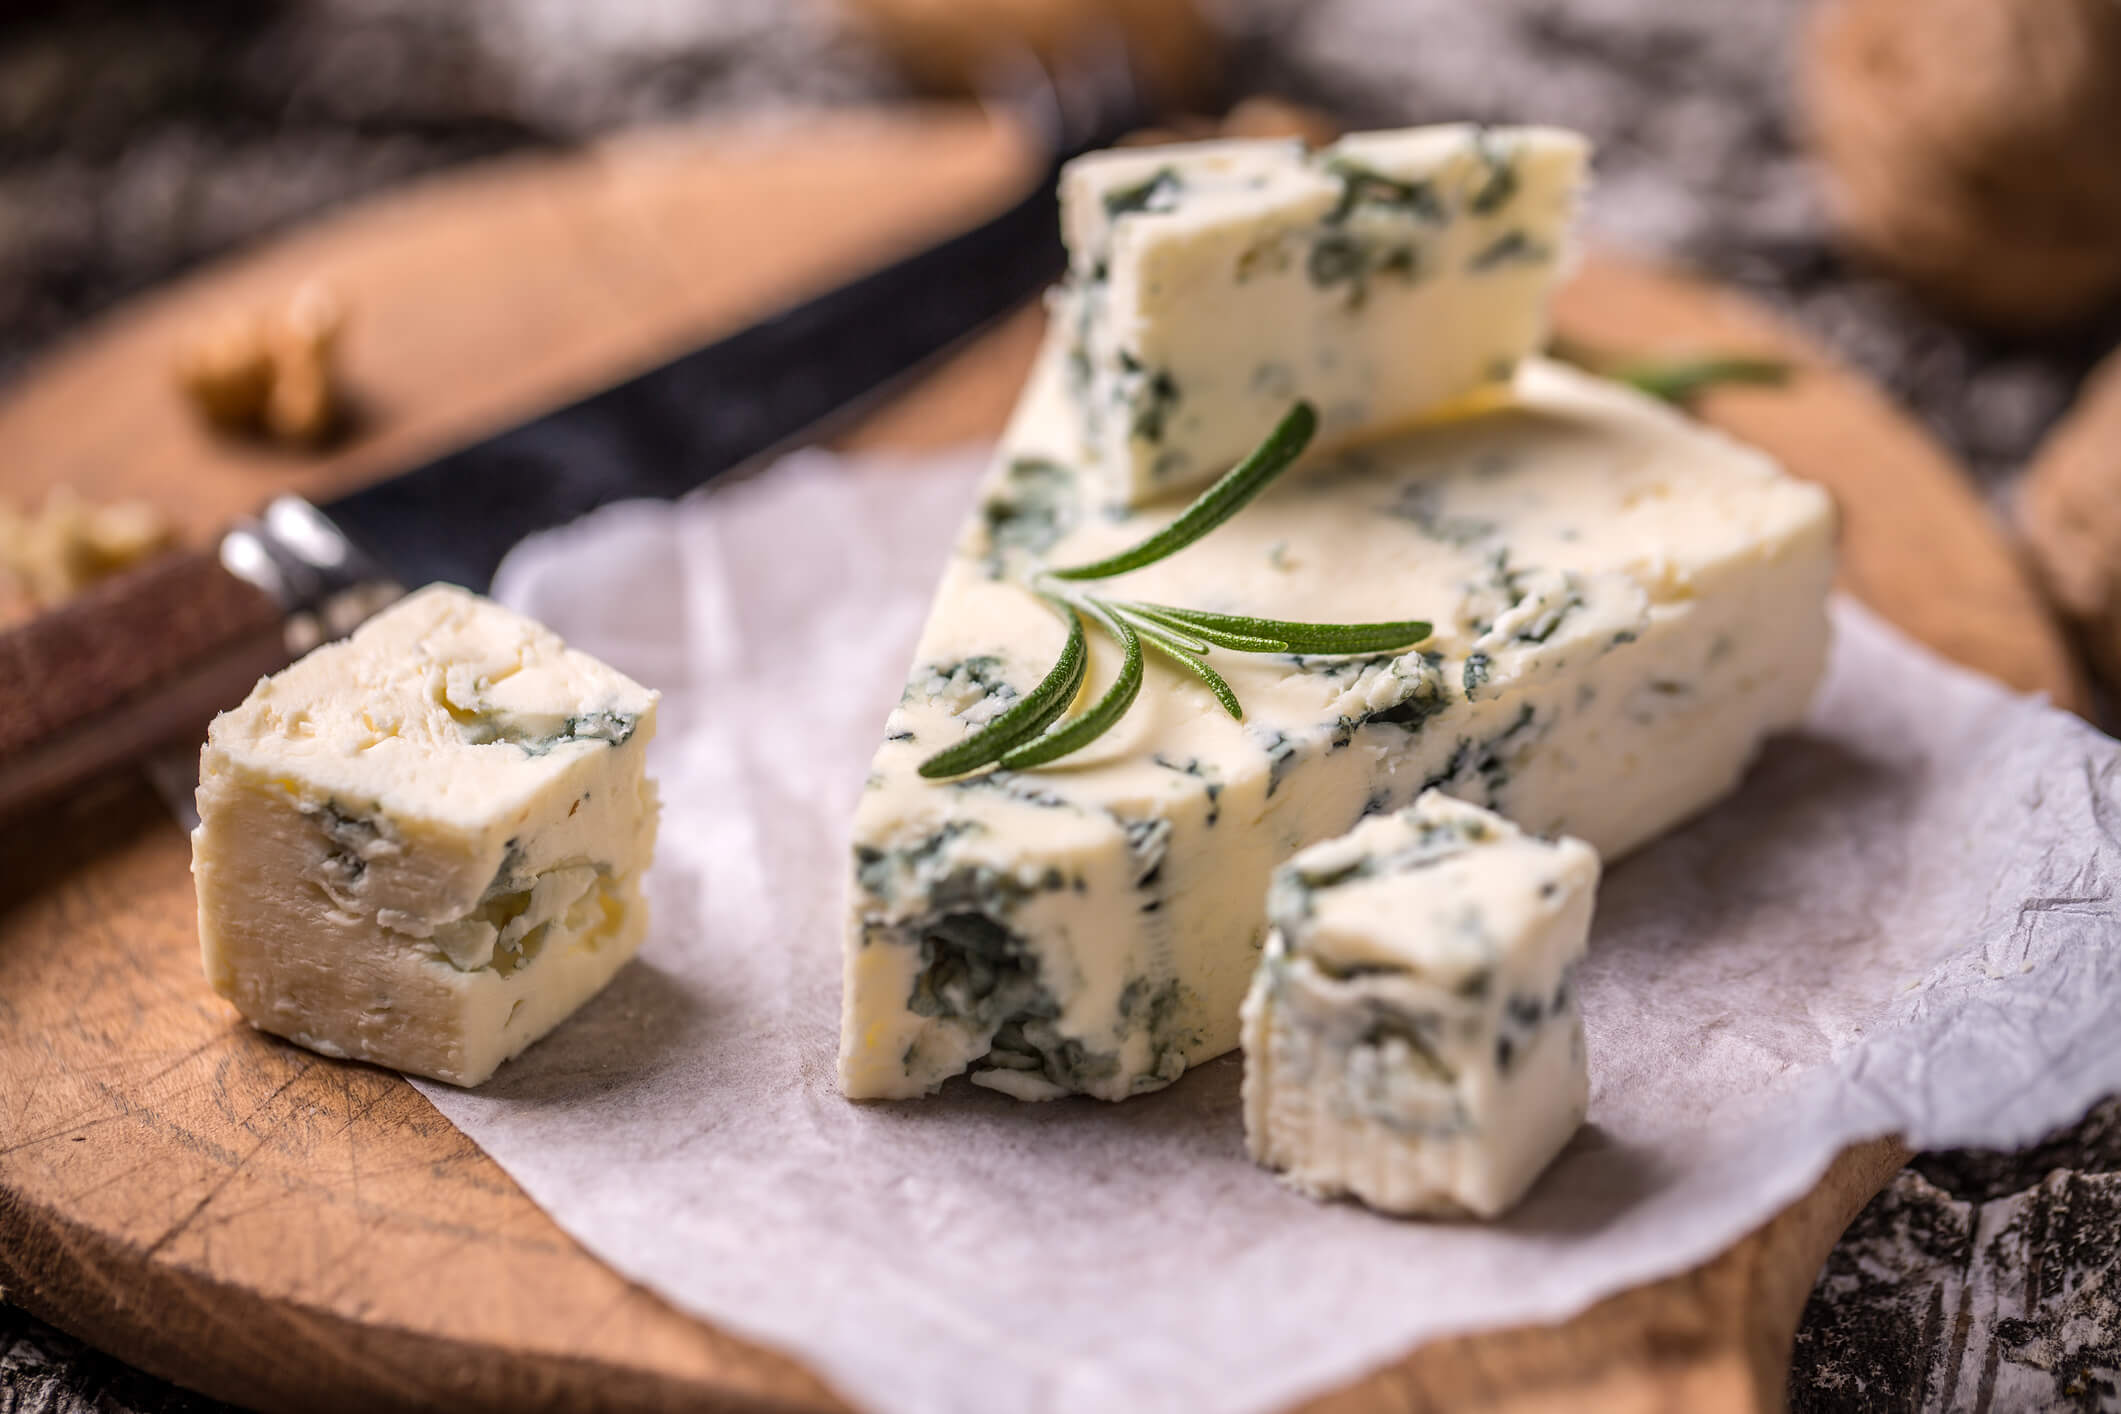
Quick Tip: Balance out the strong flavors of blue cheese by pairing it with sweet extras like honey, apples, and walnuts
3. Pick Out Meats & Charcuterie
While cheese may be the star of the show, no board is complete without charcuterie. These cured, prepared meats offer texture, spice, and heartiness that can turn a simple cheese board idea into a delicious feast. Here are a few meats that pair well with cheese to get you started:
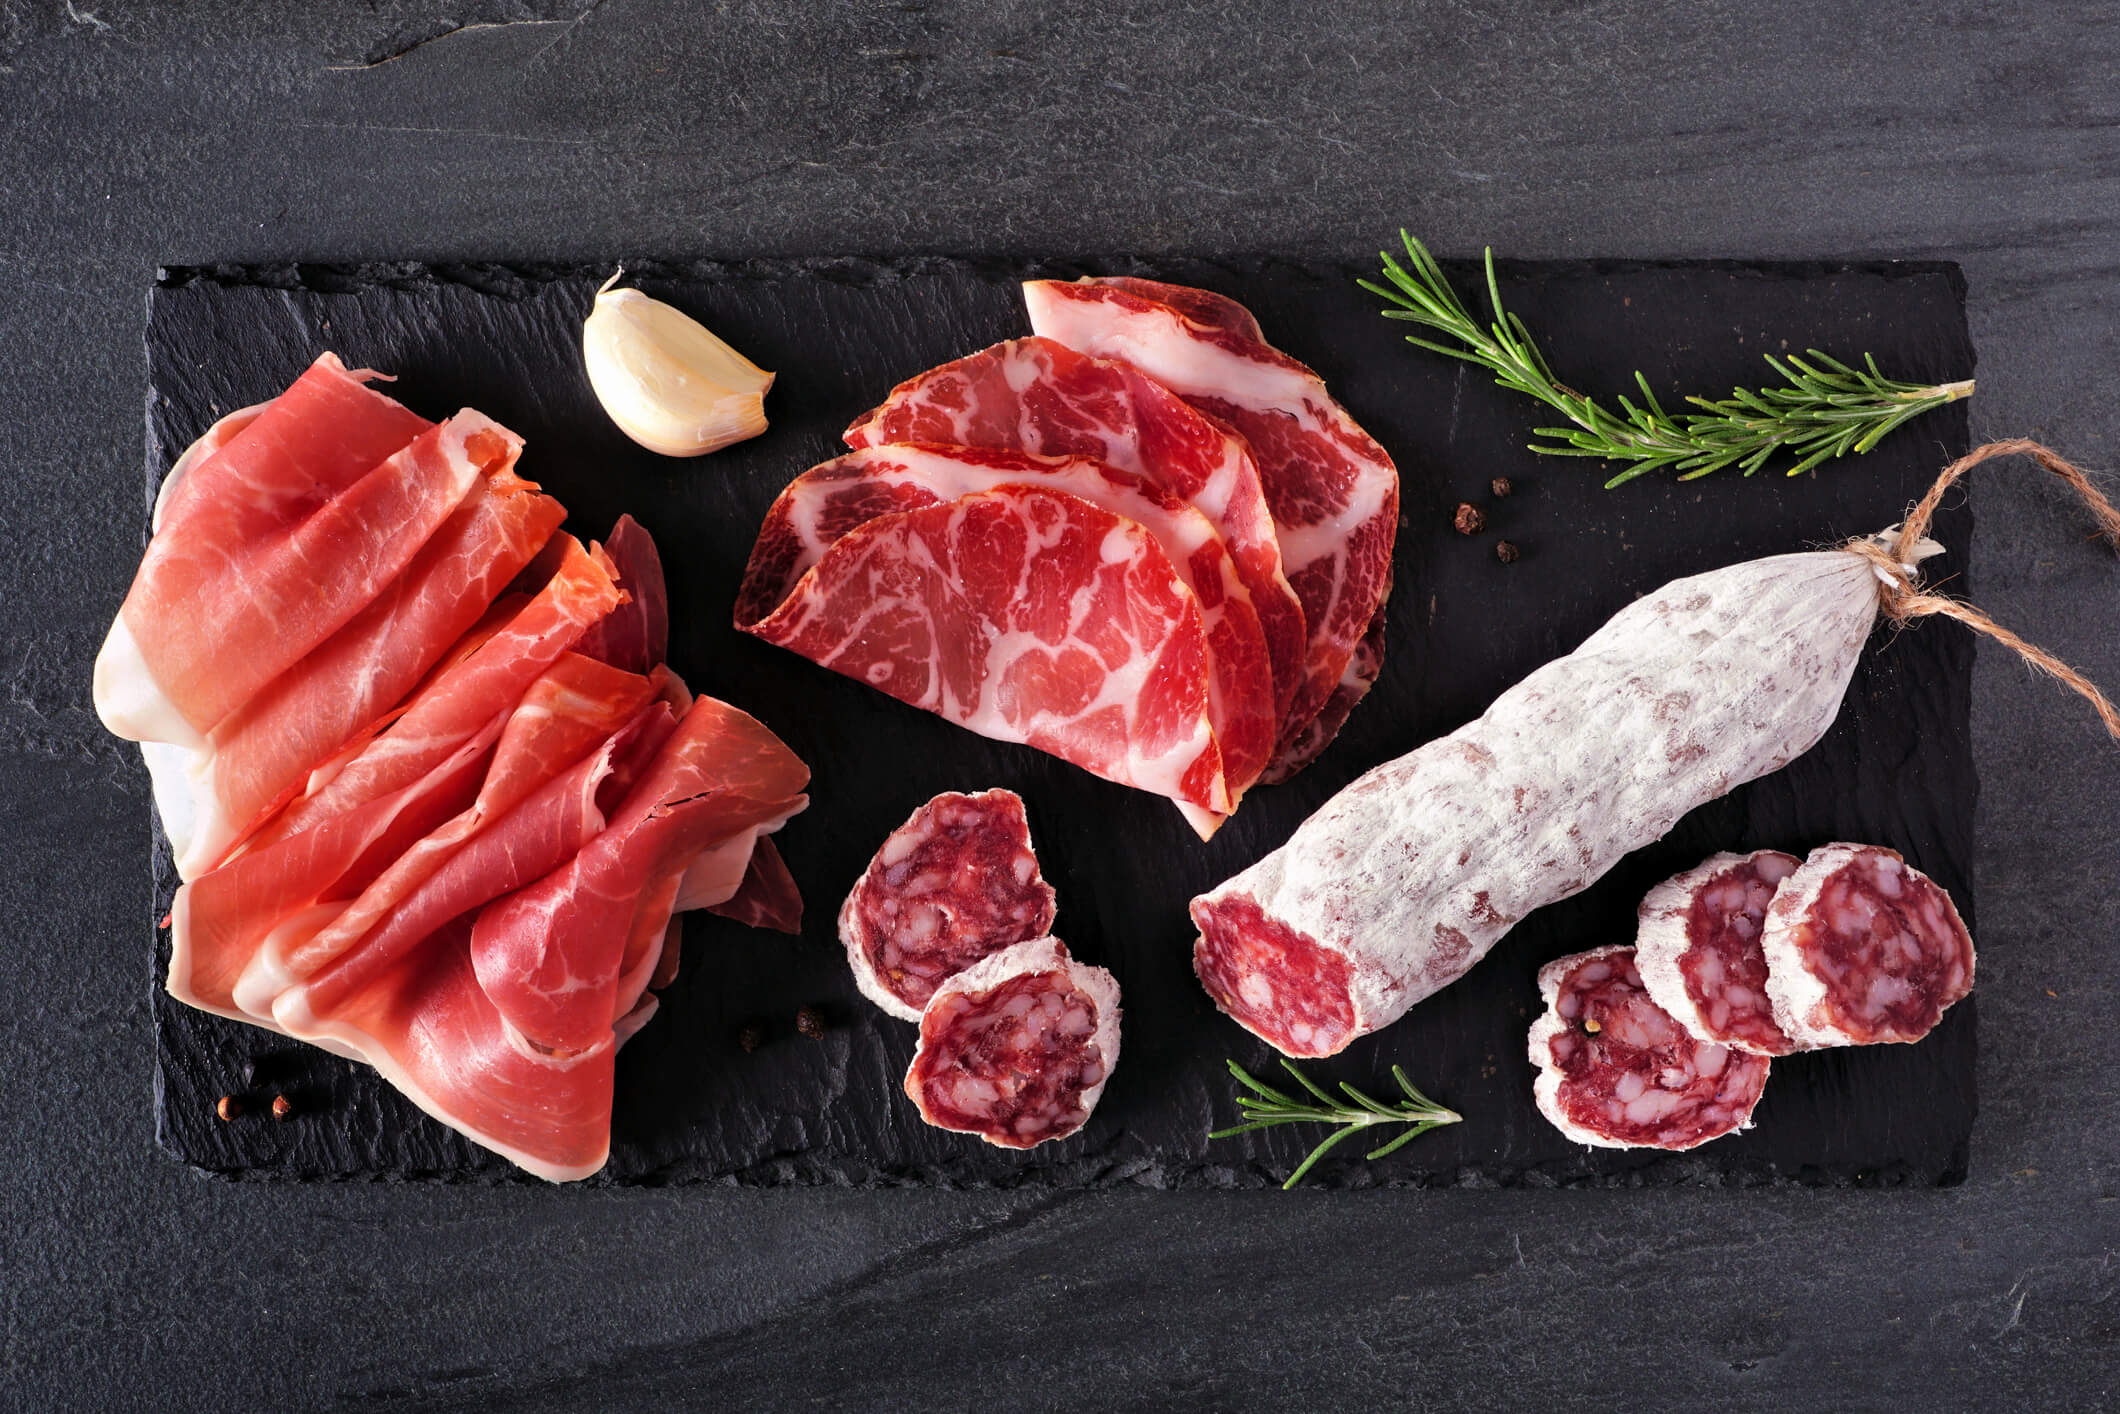
- Salami — This family of meats includes pepperoni and chorizo. It is typically made of pork, but beef salamis are often available as well. It varies in spiciness, so don’t be afraid to ask for samples and see what you like before buying.
- Mortadella — This pork-based sausage is an upscale version of bologna. It often has nuts (like pistachios) cooked into it, and may be seasoned with a variety of spices.
- Sopressata — This flavor-packed sausage comes in a variety of forms and styles, from spicy to sweet. Sopressata is a great contrast or complement to any sweet and savory meat and cheese board.
- Prosciutto — This savory meat is typically made from pork and cut very thinly into delicate ribbons. Its savory flavor is great piled on top of crackers with cheese.
- Speck — This cured meat is similar to bacon, but is firmer and has a more complex flavor profile. Its smokiness makes it perfect with dried and fresh fruits on a sweeter charcuterie and cheese board.
4. Add in Extras
The right add-ins are crucial to a delicious cheese board. Now that you’ve chosen the basics of your meat and cheese board, you can choose your final additions to complement and contrast with their flavors. Use these ideas as a starting point, but don’t be afraid to go rogue. Part of learning how to make a cheese board is trying something new!
- Fruit — Fresh, local fruit helps to balance a savory meat and cheese board with some sweeter elements. It can also provide variety when it comes to texture. Some common choices include apples, clementines, grapes, raspberries, and dried fruits like apricots, cherries, and dates.
- Nuts — Nuts offer a salty, satisfying crunch to contrast with soft, creamy cheeses. Walnuts, pecans, pistachios, and macadamia nuts are all great options.
- Olives — Olives are another popular option for adding salt and texture. Green, black, and kalamata olives are all great additions to your charcuterie and cheese board — just be sure to put them in small bowls to prevent their juice from reaching your cheeses. Check out our Olive Bar for a fantastic dose of Mediterranean flair!
- Crackers and Bread — Crackers and breads are a great way to add crunch and provide a base for sampling cheeses. Opt for a mix of grainy, savory choices, like stone-milled crackers or melba toast, and sweeter options, like butter crackers or baguette.
- Vegetables — So many varieties of cheese and meat can make a board feel heavy. Including light and crunchy vegetables like carrots, celery, edamame, and bell peppers can lighten up the palette.
- Dips and Spreads — A wide variety of dips and spreads adds tons of options to make your own flavor pairings. Hummus, mustard, jam, and chutney are great options, but don’t be afraid to think outside the box!
5. Arrange Your Cheese Board with Style
There is no secret or rule to learning how to make a cheese board, so don’t be afraid to get creative and have fun! The goal should be to show off the variety of colors, textures, sizes, and flavor profiles of the treats you’ve assembled.
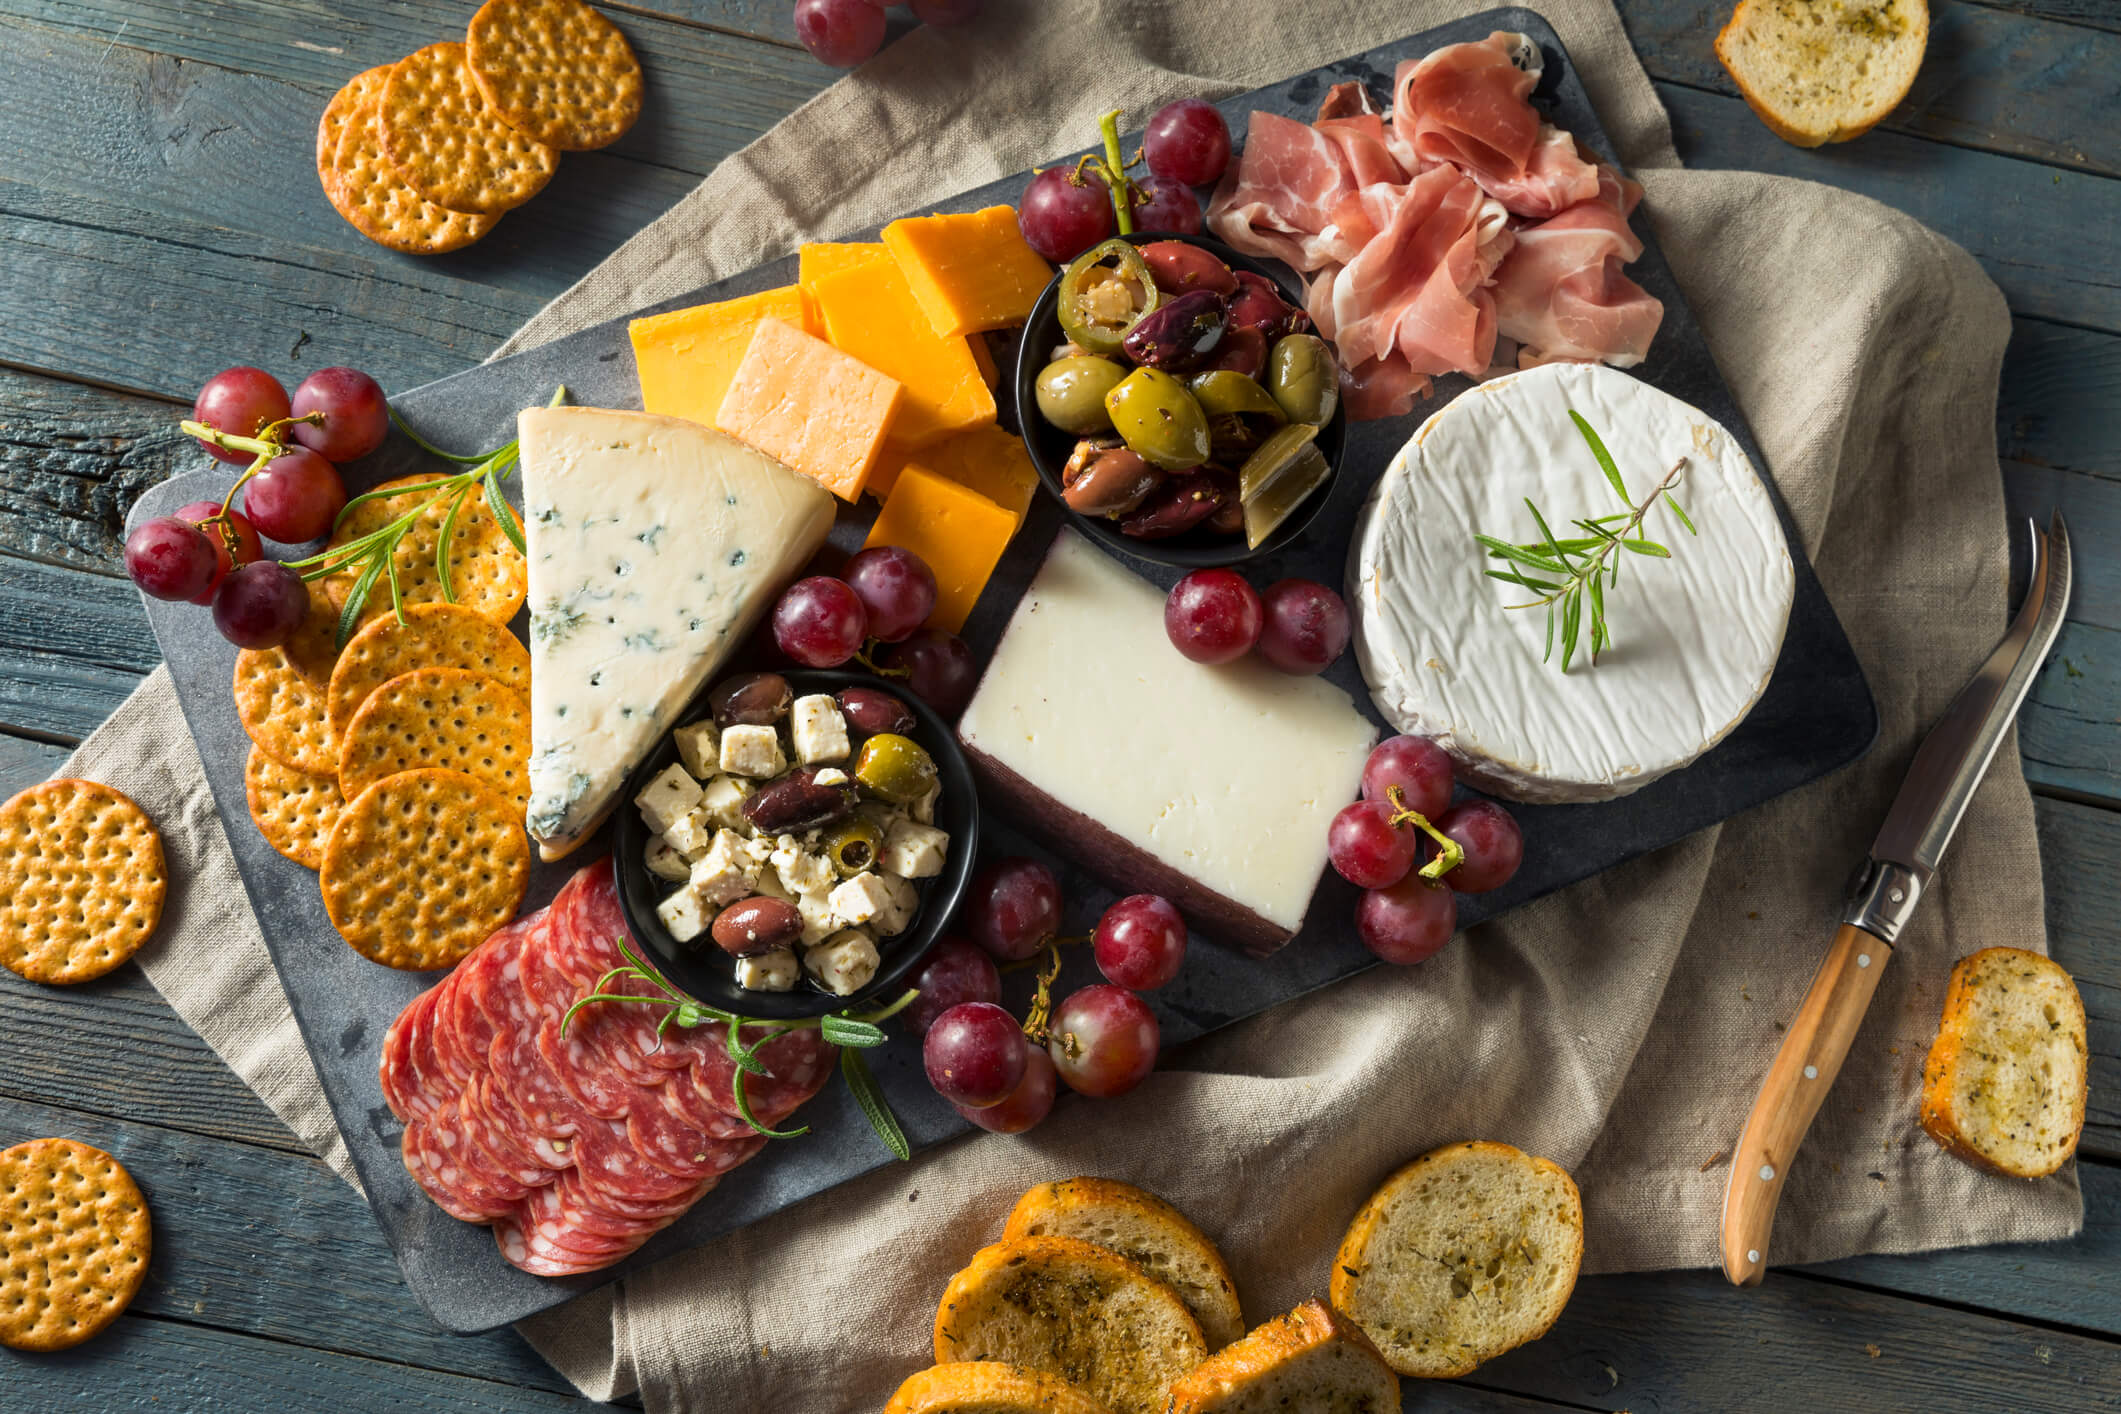
The easiest way to start is by arranging your cheese first by spreading it out across the board. Then consider which meats go best with each cheese and place them nearby. Finally, fill in any gaps with your extras. You may also want to leave space near each cheese for a label so that everyone knows which cheese is which.
Ready to build your first cheese board? Stop by your local Stauffers of Kissel Hill where one of our deli team members can help you assemble the perfect cheese board!
