How Composting Helps Your Garden

You do your part to help reduce your impact on the environment. You buy from local food suppliers, grow your own produce, and follow the current recycling guidelines. Now you want to do more to limit the amount of waste you produce. You’ve heard of composting and maybe you’ve been kicking around the idea of giving it a try. But, it seems confusing and you’re not sure how to start. We’ve got you covered! We’re sharing beginner information on reducing food waste through DIY composting and explaining how composting helps your garden grow!
Why Is Composting Good for Your Garden?
Food and yard waste make up 30% of the household waste that we throw away. As they decompose in landfills, they release methane and create greenhouse gas. Food and yard waste are also the main components of composting, which keeps them out of the landfill and makes a huge environmental impact.
In addition to waste reduction, composting is incredibly beneficial on a smaller scale — right in your own backyard. DIY composting helps your garden in many ways:
- Improves your soil — Compost makes clay soils airier, helps sandy soils retain water, and makes it easier to crumble and dig into all soil types.
- Feeds your soil — Using compost, you can become less dependent on chemical fertilizers.
- Extends the growing season — By moderating the soil temperature, compost can help your plants grow later into the colder seasons.
Getting Started with Homemade Compost
Broken down into simple terms, homemade composting involves three elements: greens, browns, and water. Here is more information on each of these key pieces:
- Greens — These are the wet materials used in composting. Popular greens include grass clippings, vegetable or fruit waste, and coffee grounds. In the composting process, green materials provide nitrogen and moisture.
- Browns — These are dry materials that include dead leaves or branches and twigs. They add carbon to the composting process and help to absorb moisture.
- Water — In addition to adding moisture, water helps organic matter break down.
As you’re collecting your compost materials, keep in mind a general ratio of 1 part wet/green materials to 2-3 parts dry/brown materials. As you’re looking around your home for items to add to your compost pile, you need to know what can or cannot be composted.
- What can be composted — Fruits and veggies, eggshells, coffee grounds, tea bags, nutshells, shredded newspaper, cardboard, paper, yard trimmings, grass clippings, houseplants, leaves, sawdust, and fireplace ashes.
- What cannot be composted — Dairy products; eggs (except the shells); fat, grease or oil, meat, and fish scraps or bones; pet waste; yard trimmings that have been chemically treated; disease- or insect-ridden plants; and charcoal or coal ash.
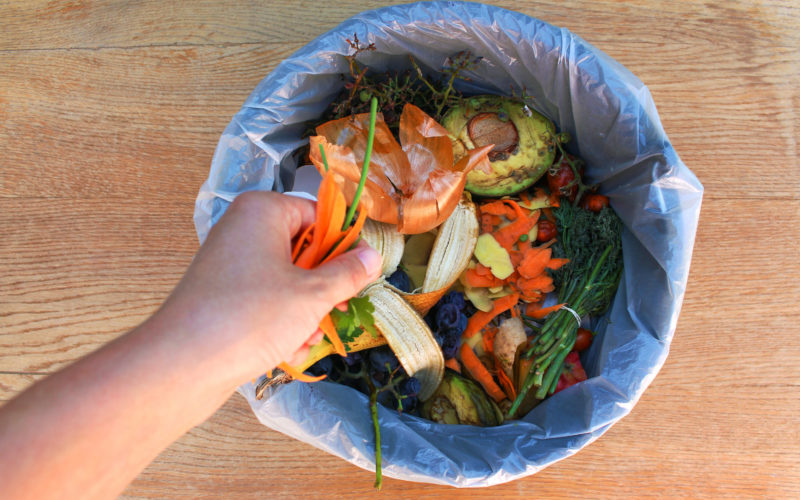
You may have concerns about collecting food waste in your home, but there are specially-designed containers you can purchase which will keep the odor in check. Containers that allow airflow will help with odors. You can also use crumpled up newspaper between layers of food waste. They will absorb excess moisture, which also limits odors.

DIY Composting for Your Garden
Now that you’ve collected your composting materials, it’s time to start your compost pile. This can be done outdoors or indoors.
Outdoor Composting
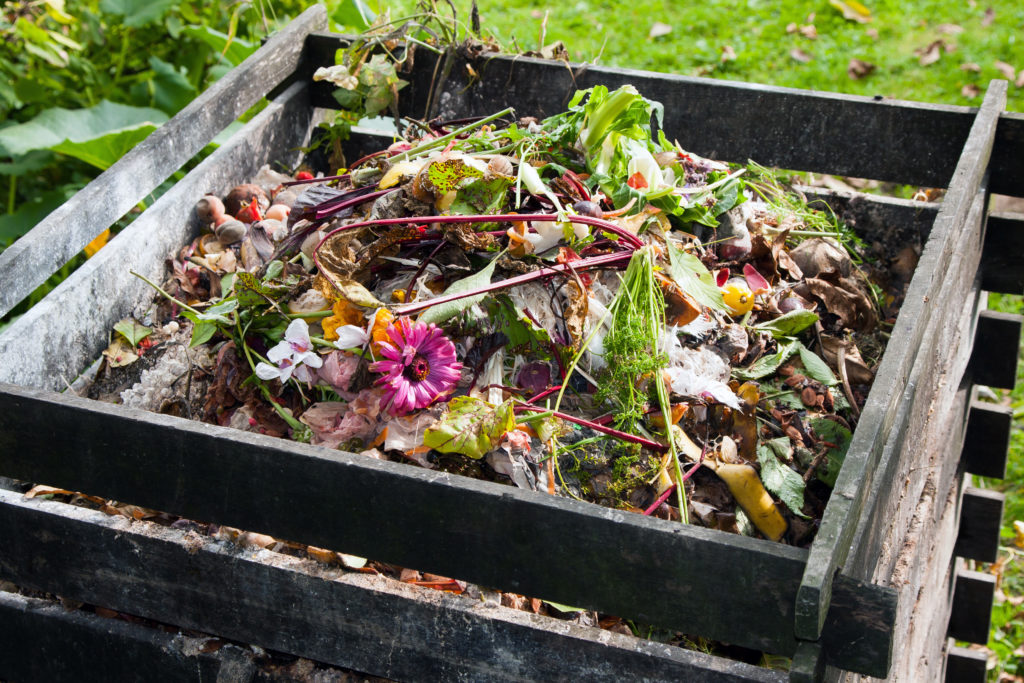
When you’re composting outdoors, find a dry, shady spot that is close to a water source. Although you can purchase a special composting drum to hold your compost, it’s not necessary. You can choose on-ground composting instead.
It is best to build retaining walls around your compost area with scrap wood, pallets, fencing material, or metal. A three-sided design or four-sided design with a removable front will allow easy access for adding to your pile.

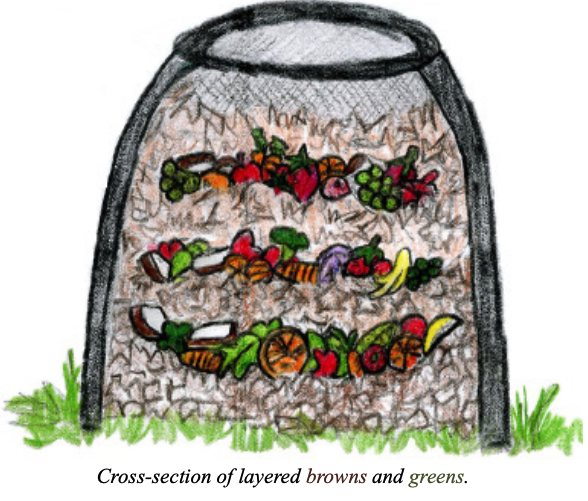
- Start with a brown layer in contact with the soil with an “indent” in the center of your pile.
- Add your green layer inside the indent. Your green layer should never reach the edges of the pile. This will keep insects and pests away from your pile and help with odor control. This illustration from Cornell Waste Management Institute is a good example of what your compost pile should look like.
- Continue to alternate green and brown layers and moisten the layers as you add them.
- Cover your pile with a tarp to keep it moist.
To Turn or Not To Turn — You have the choice of letting your compost pile work passively or actively. With passive composting, you do not turn your pile. Instead, you simply let it sit and break down on its own. With active composting, you can use a pitchfork or shovel to turn your pile. This breaks up your materials and speeds up the process.
With passive composting, you may need to wait 9-15 months for usable compost. With active composting, it may only take 6 months or less. When the material at the bottom of your compost pile is a rich dark color, it is ready for use.
Indoor Composting
If you have limited outdoor space, you can still take on DIY composting indoors. Purchase a special indoor composting bin at your garden supply store or hardware store and follow the same steps above, on a smaller scale. Indoor composting can result in usable compost in two to five weeks.
For all your composting supplies or for more advice to get you started, visit the garden experts at our Stauffers Home and Garden Stores.
