How to Prep and Cook a Turkey For the Perfect Thanksgiving Dinner

Autumn food trends are starting to resurface which means the holiday season is right around the corner. Whether this is your first time hosting Thanksgiving dinner, or you’ve been doing it for years, learning how to prep and cook a turkey is the key to a successful feast.
In this blog, we’ll review everything you need to know about how to prep and cook a turkey so you’re guaranteed to have a memorable meal.
How to Prep a Turkey
It’s important to make sure you prepare a turkey ahead of time in order to have a delicious, and successful Thanksgiving roast. Below, we’ve listed 9 steps you should follow before your turkey goes in the oven.
1. Defrost It
The first step is to make sure your bird is properly defrosted. A frozen turkey should defrost in the refrigerator for 24 hours for every 5 lbs. of turkey. Doing this will ensure that your bird can defrost gently and evenly.
Remember, the amount of time you spend defrosting your turkey will depend heavily on how large it is. If you’re not sure how long your turkey will need to defrost, use the following as a loose guideline:
- 4 to 12 pounds: 1 to 3 days
- 12 to 16 pounds: 3 to 4 days
- 16 to 20 pounds: 4 to 5 days
- 20 to 24 pounds: 5 to 6 days
Keep in mind that you’ll want to remove your turkey from the refrigerator about 1 hour before you plan to cook it. Your turkey will cook more evenly if it’s not super chilled.
2. Clean It
One of the most common questions that come up during Thanksgiving prep is how to clean a turkey. Truthfully, you don’t actually need to wash your turkey before cooking it. Simply use cold water to rinse the inside and outside and pat it dry with paper towels.
Next, you should know what parts to remove from the turkey before cooking. Most turkeys will come with the giblets and neck inside the body cavity. Make sure these are taken out before you brine, season, or roast them.
Some people like to use these pieces for other things such as making stock, stuffing, or gravy. If you choose to do this, you’ll want to rinse the giblets and neck with cold water as well.
3. Brine It (Dry or Wet)
When researching how to prep and cook a turkey, you’ll often come across the term “brining.” Brining your turkey isn’t necessary but many people prefer to do it in order to make the skin extra crispy and the meat extra moist. There are two ways you can brine a turkey: dry or wet.
While there are advantages and disadvantages to each approach, people tend to lean towards dry brining since it’s known to be easier and less complicated. Below, we’ll walk you through both ways so you can decide which is a better fit for your Thanksgiving roast.
Dry Brine
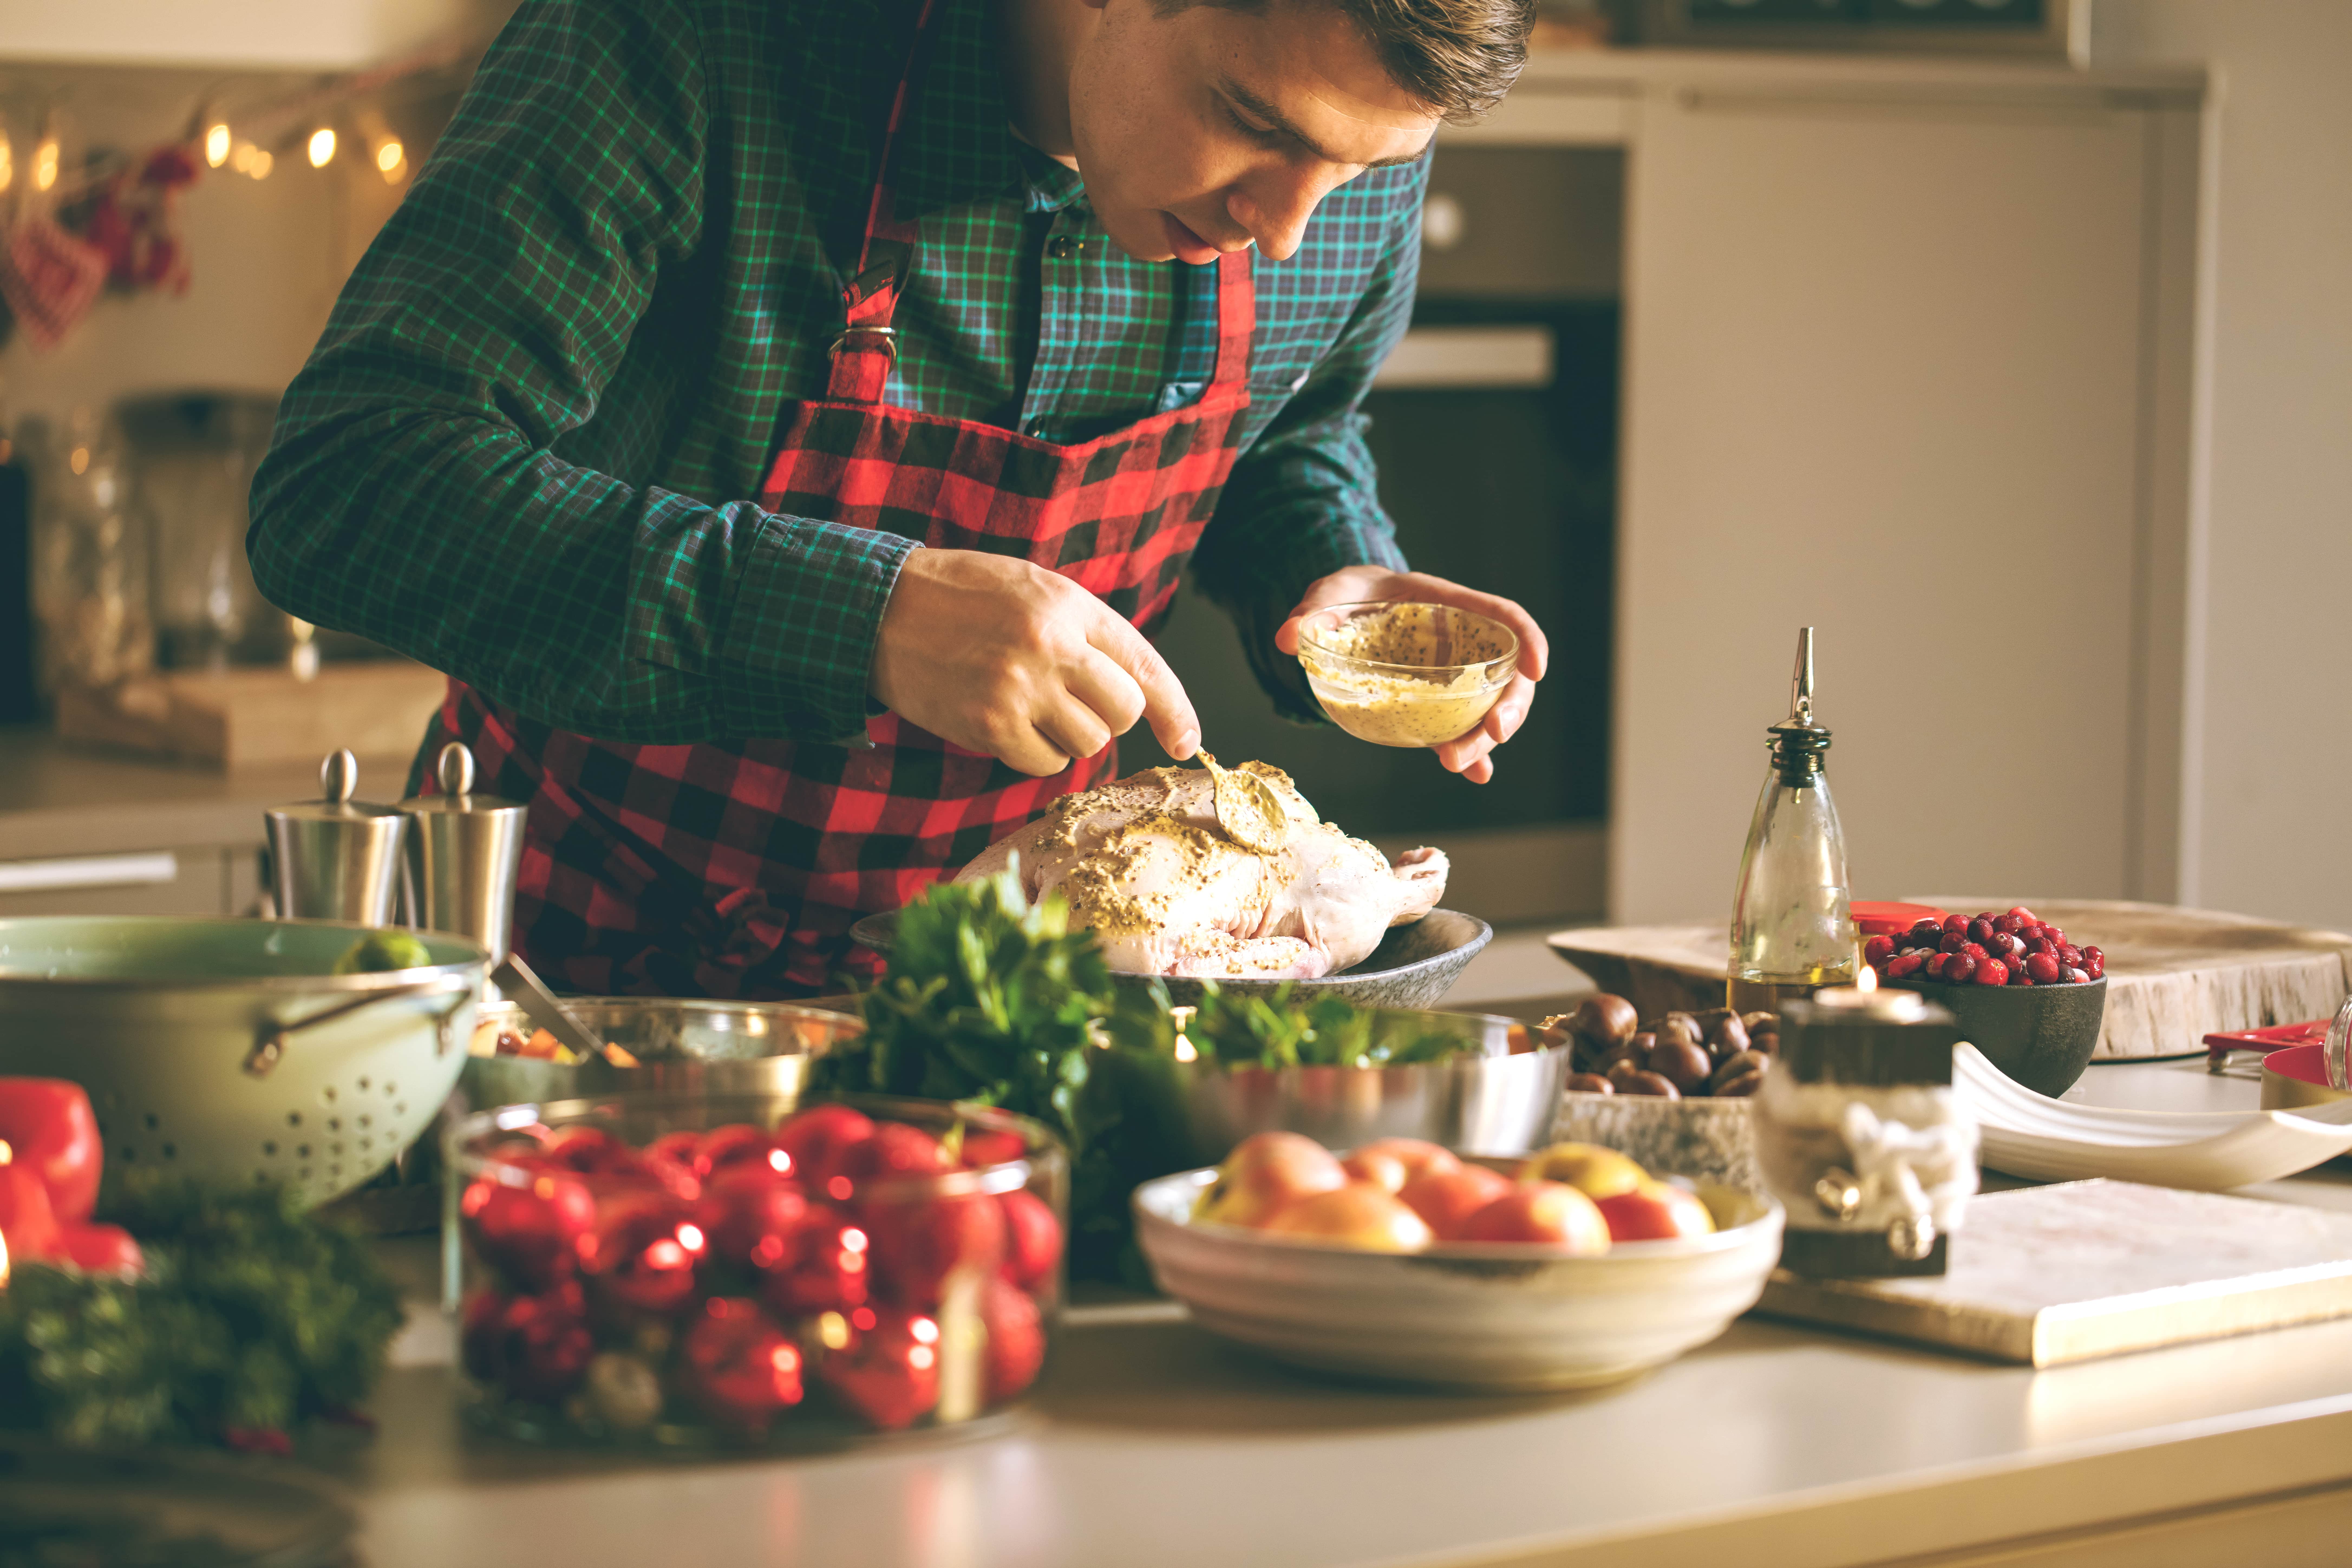
The first thing you’ll want to do is ensure your turkey is completely dry. You can do this by patting it down with paper towels. Once it’s thoroughly dried, cover the turkey in salt.
Just make sure you are not using table salt. We suggest using 2 ½ tsp. of Diamond Crystal kosher salt per pound of turkey. After the turkey is salted, refrigerate it uncovered for at least 1 hour per pound to allow it to brine.
Note: There is no need to rinse the turkey once it’s finished brining before you cook it.
Wet Brine
If you choose a wet brine, you’ll have to prepare a saltwater mixture. We suggest using 1 cup of salt and 1 gallon of water. Again, make sure you are using kosher salt rather than fine table salt.
Next, take a turkey-sized brining bag and place it in your large roasting pan. Put your turkey inside the bag and pour your brine over the turkey. Squeezing any excess air out of the bag, make sure it is secured shut, and put it in the refrigerator for 8 to 18 hours.
Remove your turkey 8 to 12 hours before you plan on cooking it. Rinse it thoroughly with cold water and pat it dry with paper towels. Finally, place it back in the refrigerator uncovered until you’re ready to cook it.
4. Season It
If you chose to brine your turkey, skip this step. If not, you should take some time to add seasoning for extra flavor. Luckily there is no right or wrong way to season your turkey.
One of the most common practices you will come across while learning how to prep and cook a turkey is to sprinkle the skin and inside the cavity with kosher salt and freshly ground pepper. You can add as much or as little as you desire, but we suggest using about 3 tbsp. of salt and 1 ½ tbsp. of freshly ground pepper if you’re cooking a 12 to 14 lb. turkey.
In addition to adding salt and pepper, you can throw on some other ground spices and seasonings. Some of the most popular choices are cumin, lemony coriander, or even a bit of brown sugar.
5. Stuff It
Whether or not to stuff your turkey is a common holiday controversy. Some people believe that by the time both the turkey and stuffing are fully cooked, the meat is left dried out. However, if you learn how to properly and safely do it, making stuffing can be a delicious addition to your Thanksgiving roast.
The key thing to remember is to fill the turkey with your stuffing immediately after it’s prepared and right before you place it in the oven. Doing this will ensure you mitigate bacterial growth before roasting.
When adding your stuffing, take a small portion and spoon it into the bird’s neck. Then, on the other side, take a larger portion and add it to the body cavity. If you decide stuffing your turkey isn’t for you, consider adding aromatics into the cavity instead.
These will give you that extra flavor without the hassle of the stuffing process. Some of the most popular aromatics to use are fresh herbs (such as sprigs of rosemary, thyme, and/or parsley), wedges of fresh onions or celery sticks, and even lemon or orange slices.
Keep in mind that once your turkey is complete and ready to eat, you need to remove these aromatics before you begin carving.
6. Truss It
Like stuffing, trussing is not necessary to properly prep a turkey. However, if you choose to put anything inside your turkey, trussing it is a good option because it will keep ingredients from falling out and will encourage it to cook more evenly.
To truss your turkey, follow these steps:
- First tuck the wing tips behind the bird’s shoulders, locking them into place so they won’t become scorched or burned.
- Next, tie the ends of the drumsticks together using kitchen twine. Wrap the twine once or twice around each separate drumstick.
- Pull the two pieces close and wrap once more around both drumsticks together.
- Finally, tie the twine tightly so it stays secure.
Cooking a Turkey
Timing is key when learning how to prep and cook a turkey which is why it’s important to plan accordingly. Once you’ve finished reviewing how to prep a turkey, you’re ready to begin the roasting process.
Prepping the Oven
You want to make sure the oven rack you’ll be using is on the lowest rung. This keeps the turkey cooking evenly and gradually without burning the top too quickly. Preheat the oven for about 15 minutes before roasting. Depending on the size of your turkey the heating may vary so be sure to check that before doing so (we’ll discuss calculating cooking time below).
Tempering the Turkey
As we mentioned earlier, your turkey should be removed from the refrigerator 1 hour before you plan to cook it. You don’t want to cook a turkey that’s too chilled. Once it’s ready, place your bird on a roasting rack.
It’s best to use a rack that allows the turkey to sit just below the top of your largest roasting pan. Doing this will allow the air to circulate leaving the skin crispy. When you first put your turkey in the oven, loosely cover it with aluminum foil.
Note: Halfway through cooking, you’ll want to remove the foil to allow the skin to brown.
Roasting the Turkey
Make sure when you put your turkey in the oven it is breast side up. You may also consider adding cold water to the bottom of your pan, this prevents drippings from burning. Make sure you properly calculate the cooking time of your turkey. If you are unsure, follow these guidelines.
If your turkey is 8 to 12 pounds roast at:
- 325 degrees Fahrenheit for 2 ¾ to 3 hours.
If your turkey is 12 to 14 pounds roast at:
- 425 degrees Fahrenheit for 2¼ to 2½ hours
- 400 degrees Fahrenheit for 2½ to 2¾ hours
- 350 degrees Fahrenheit for 2¾ to 3 hours
- 325 degrees Fahrenheit for 3 to 3¾ hours
Make sure you check the temperature ¾ of the way through cooking your turkey, and then every 10 minutes following that. When your turkey is done, use an instant thermometer to ensure the thickest part of the bird is 165 degrees Fahrenheit.
Note: Most traditional recipes call for basting your turkey every 30 minutes. However, if you chose to brine your turkey before cooking, you only need to baste it every hour.

Learning how to prep and cook a turkey takes time, but once you know the correct steps, you’ll be guaranteed to have a deliciously successful Thanksgiving dinner.
The holiday season is right around the corner. Start planning your dinners by checking out our online fresh foods store to find quality ingredients for every meal.
This blog was originally published on November 12, 2018. It was updated on September 2, 2022.

